Nivigating Classroom
Navigating round google classroom
Contents
Navigating round google classroom 1
Navigating around the home screen 1
Navigating to other google apps 2
Publishing announcements with your class 6
Posting, Scheduling or saving the assignment as a draft 10
Creating an assignment quiz with google forms 24
Asking questions to your class 30
Adding material to your work 32
Adding a YouTube link into an assignment 33
Navigating around the home screen
Selecting your classes
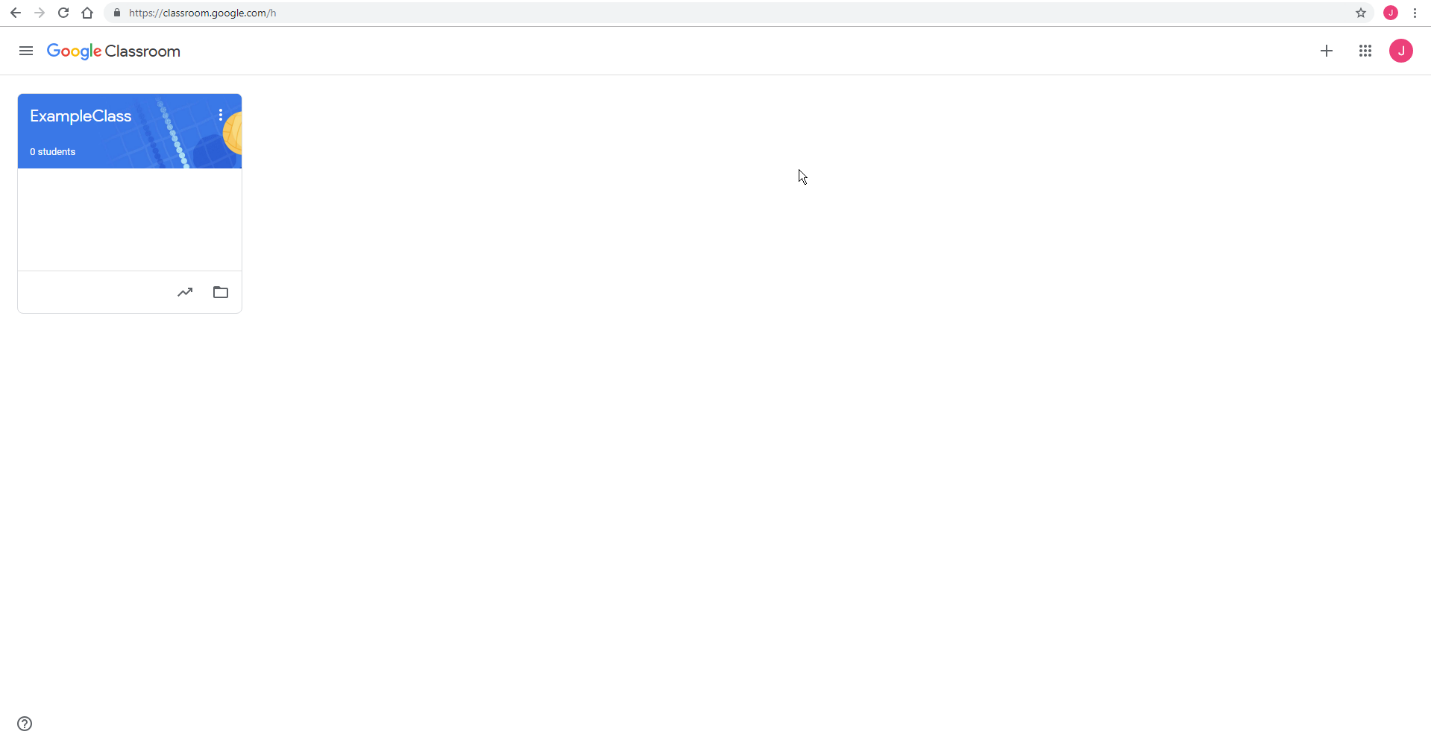 From the home screen, you can view all your classes and select them.
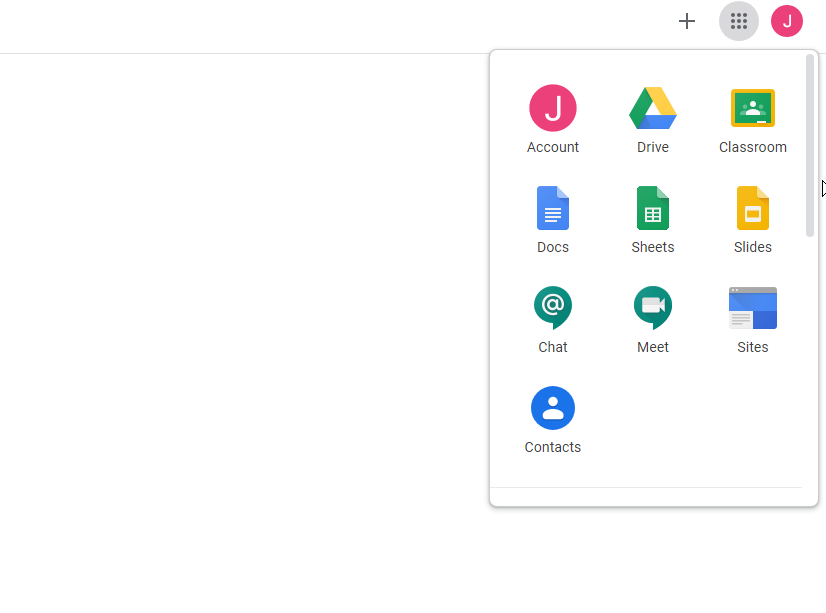
Navigating to other google apps
From the home screen in the far right hand corner you have the drop down menu item that gives you ease of access to other google apps, which you can find in other guides.
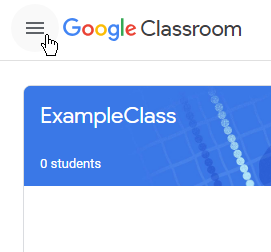
Shortcut bar
- This is located in the top left hand corner of the home screen and looks like the image below
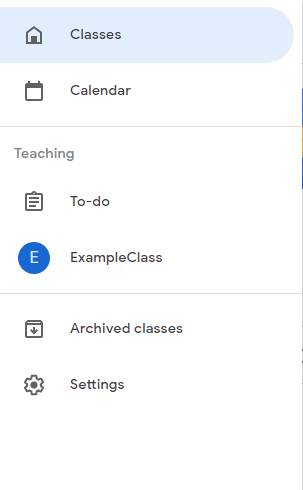
- When selected it will look like this where you can navigate to your classes, calendar, to do list, current class, archived classes and settings
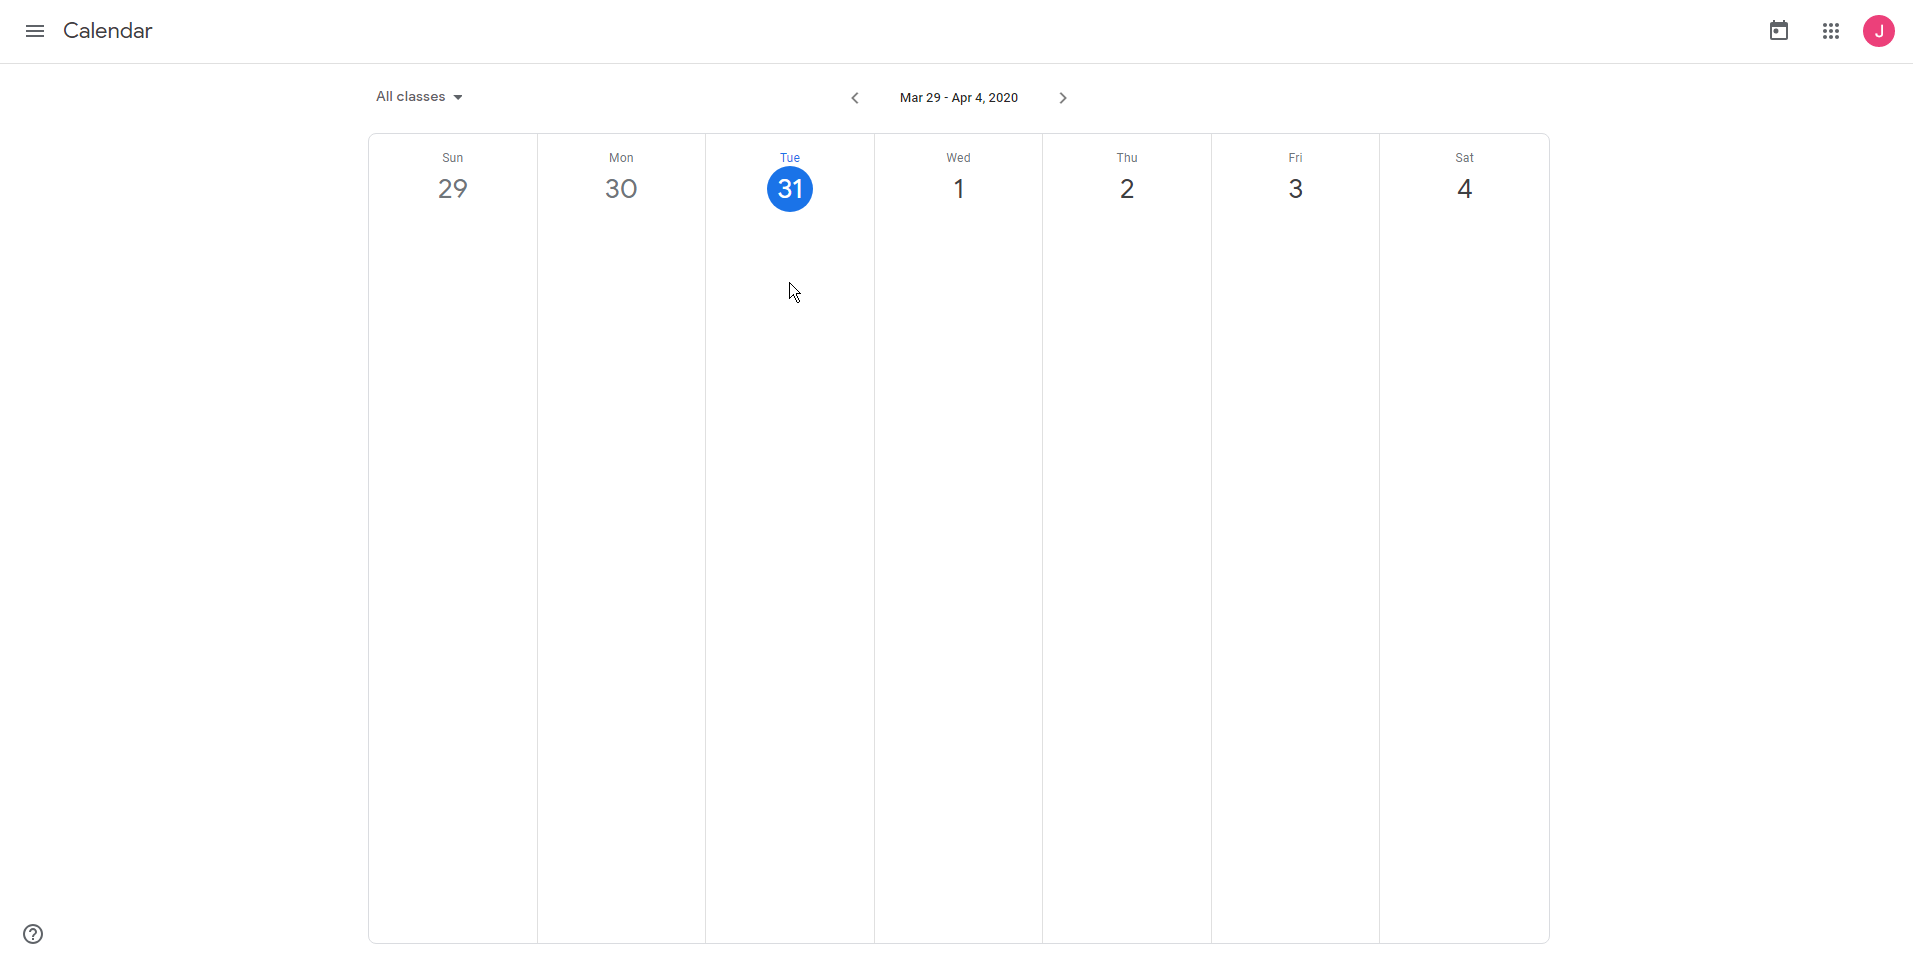
Calendar
When you select calendar from the shortcut bar you will be presented with the image below. In the calendar you will see when work has been set and when it is due.
Stream features
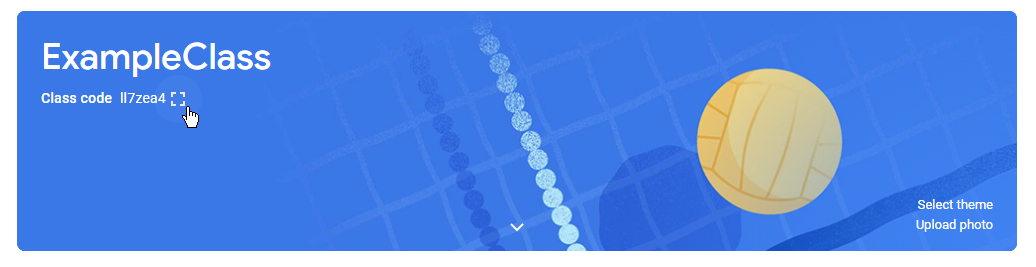
Viewing class code
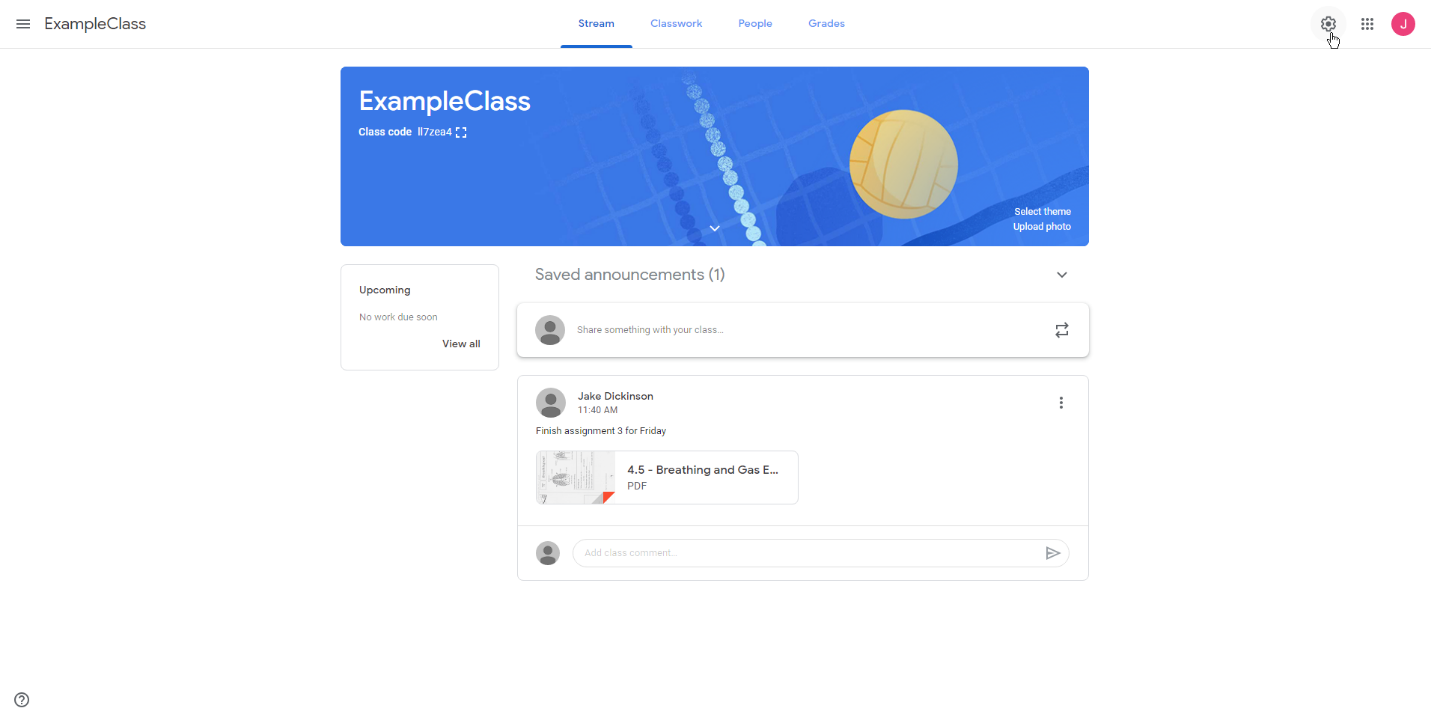
- Once you have selected your class you will see the screen below
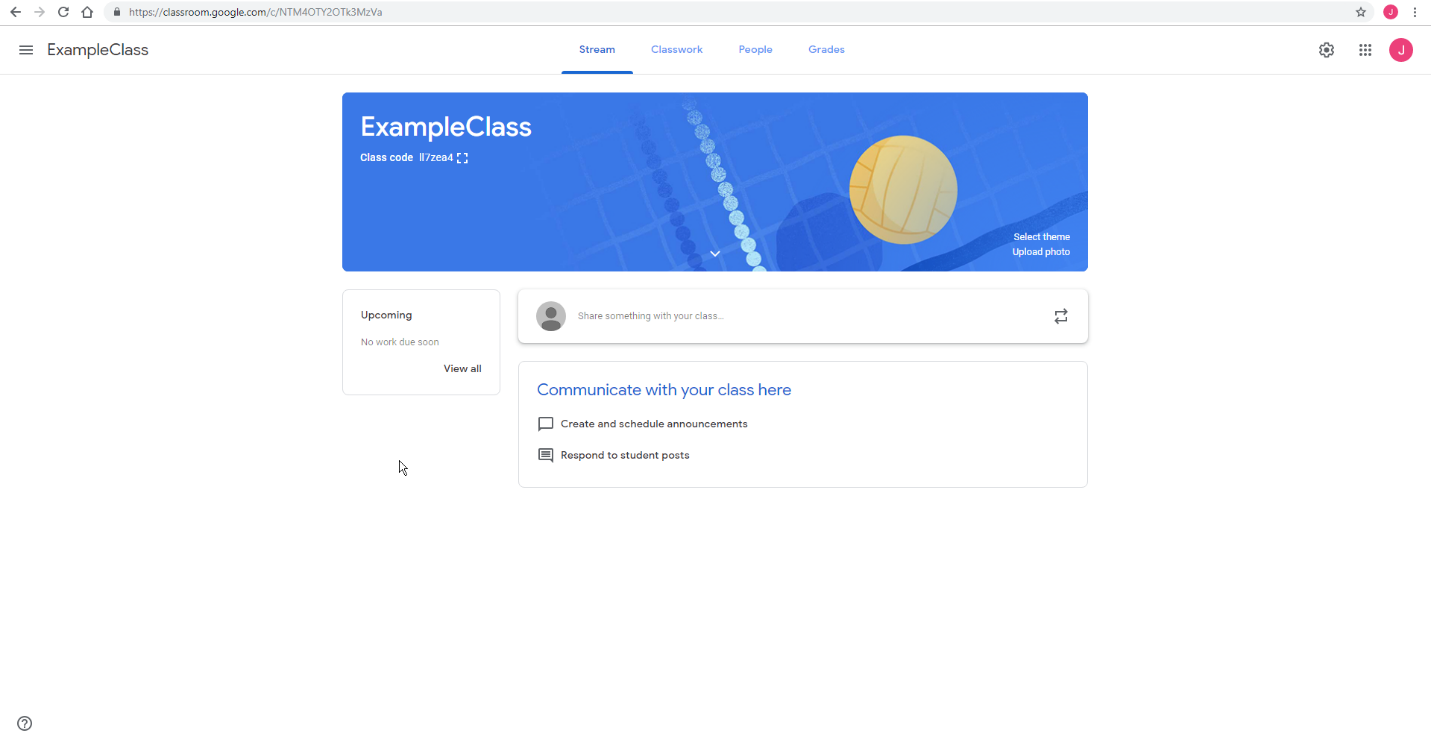 From here, you can present your class code which will allow students to join your class. To enlarge this select the box icon below.
Publishing announcements with your class
 You can publish announcements with your class to see how they are progressing with work or give those help such as attaching documents etc. “Just select share something with your class”
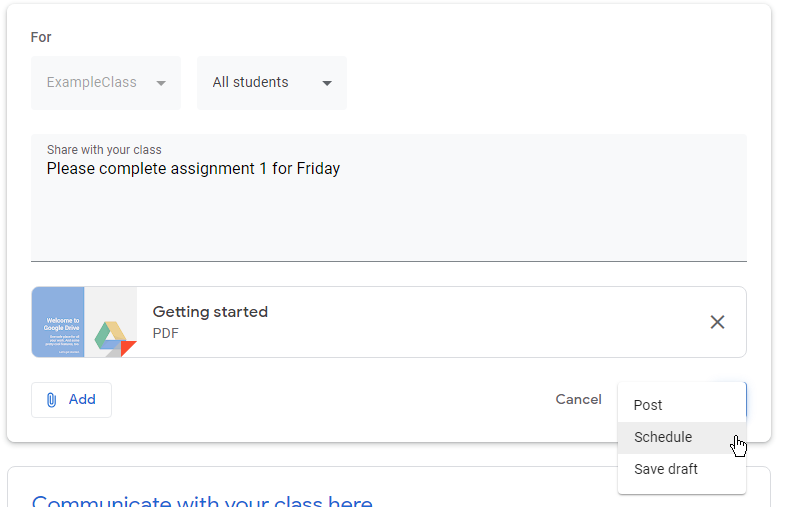
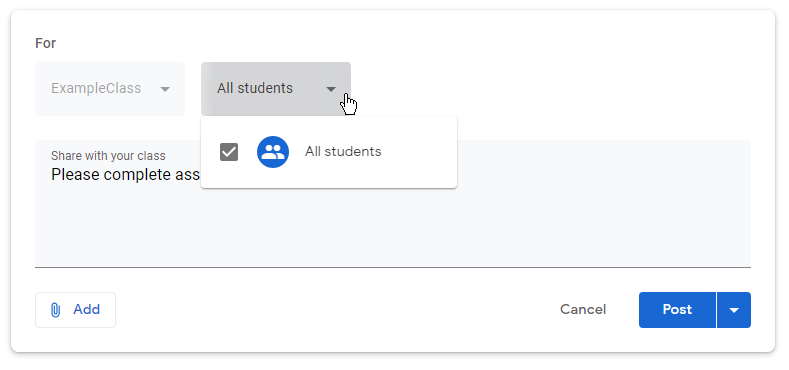 From here you can select the students that you want to receive the announcement if you wish for the whole class to receive the share select “All students”
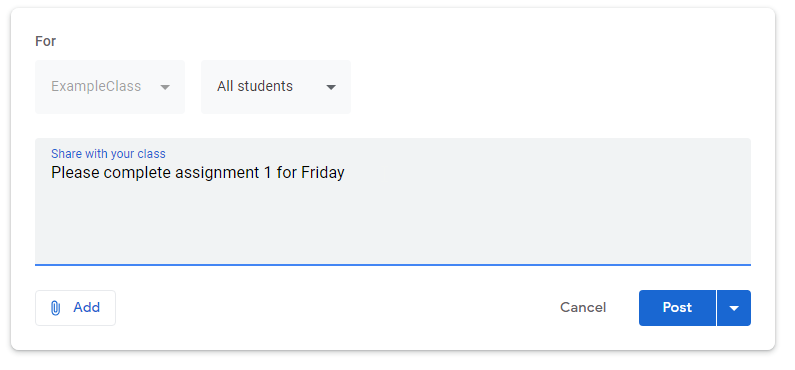 you can enter the text you want your class to see
- You can also add attachments such as help sheets etc. Just select add then file
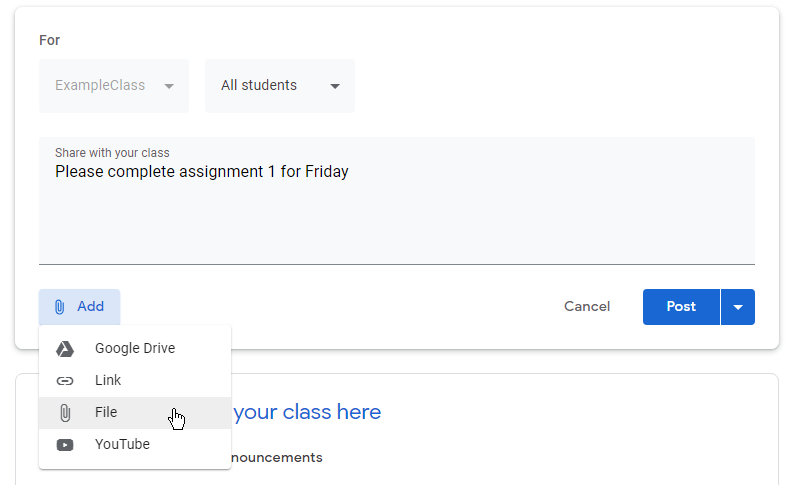
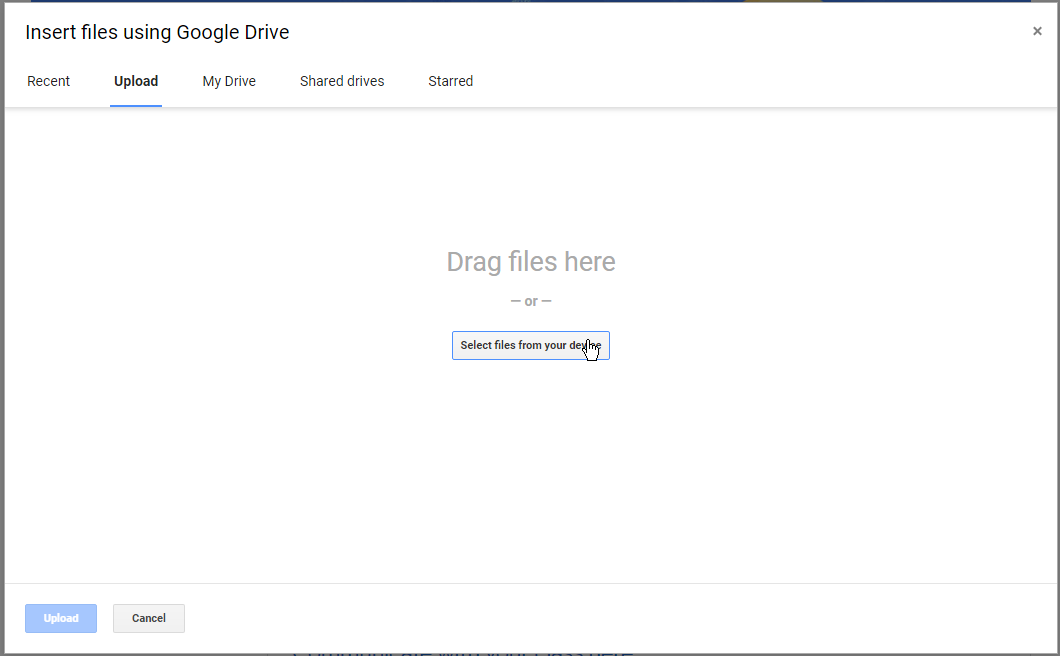
 You will now be presented with this screen. To select the files you want select files from your device.
 Once you have attached the file select upload
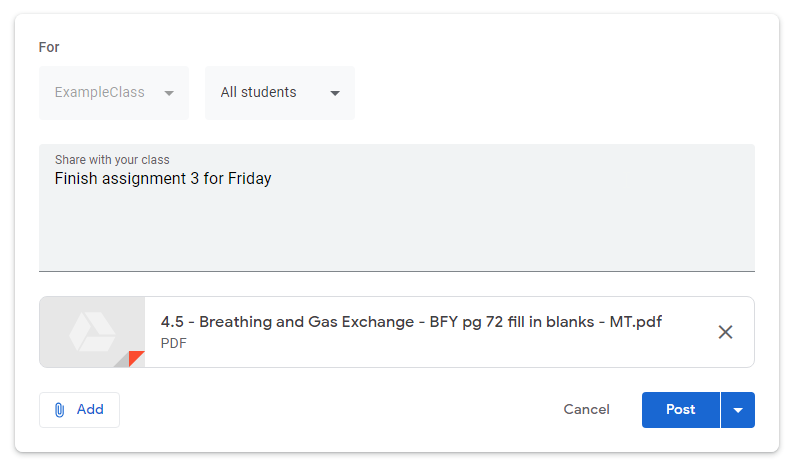 You can now see the file has uploaded successfully
Posting, Scheduling or saving the assignment as a draft
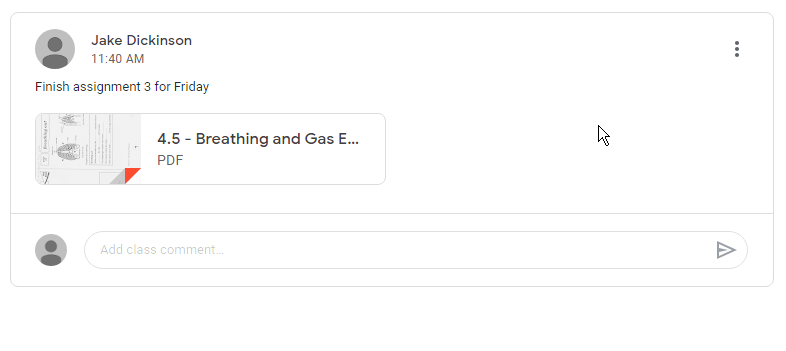
- You can now either post the work, schedule the work or save it as a draft. To post the work just select post and your post should look like the Image below
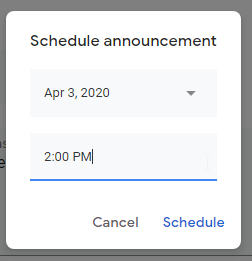
- To schedule your announcements just select schedule
- When you select schedule you will be brought to this screen where you can set the date and time you wish the announcement to be published just select schedule when finished.
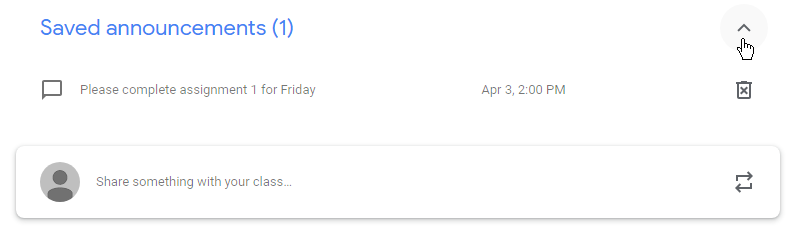
- You can now see your announcements in saved announcements on the stream home screen.
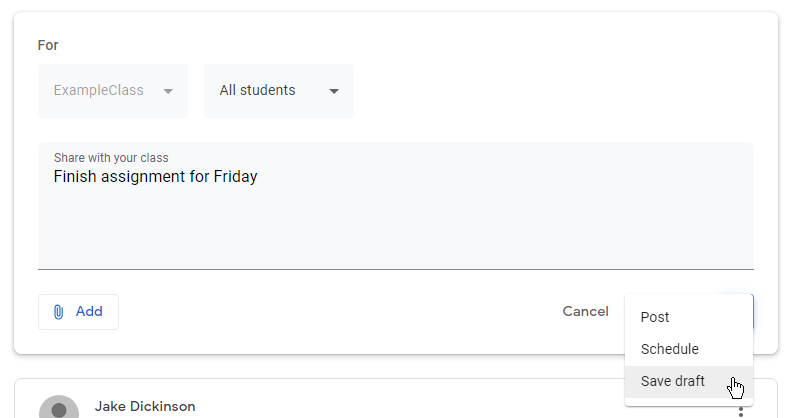 If you wish to save your announcement as a draft just select save draft
- It will now again appear in your saved announcements

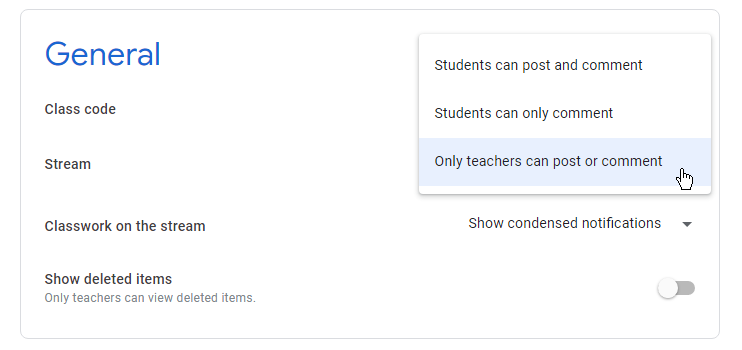
- Now your announcement has been posted any teacher or student can now comment on that announcement for help etc.
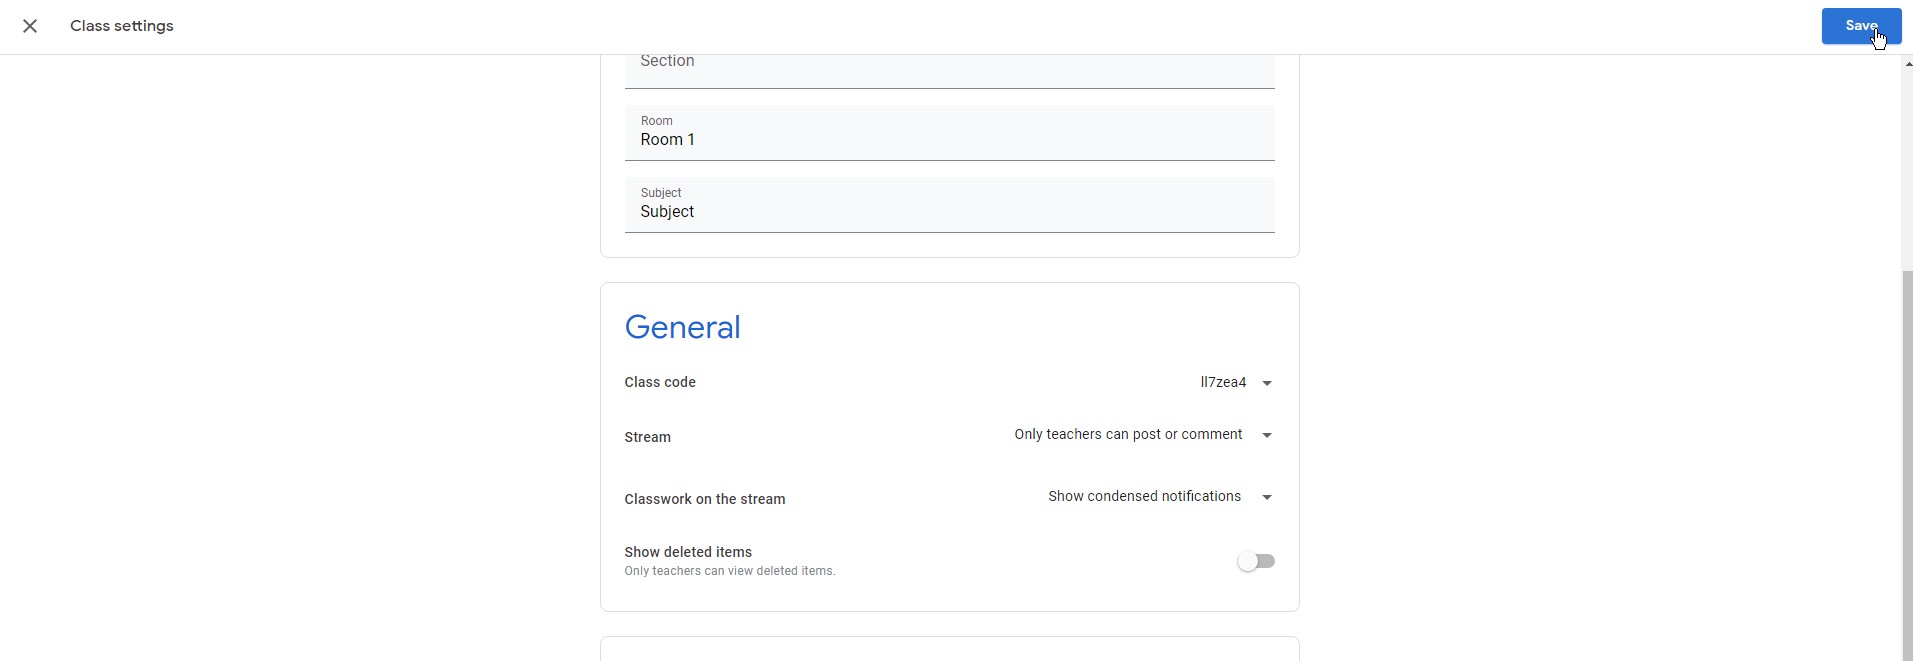
- If you wish to turn this feature off you can navigate to settings
- scroll down to the general menu item and change it accordingly
- You now need to save your settings and you will be redirected to your classes homepage.
Classwork
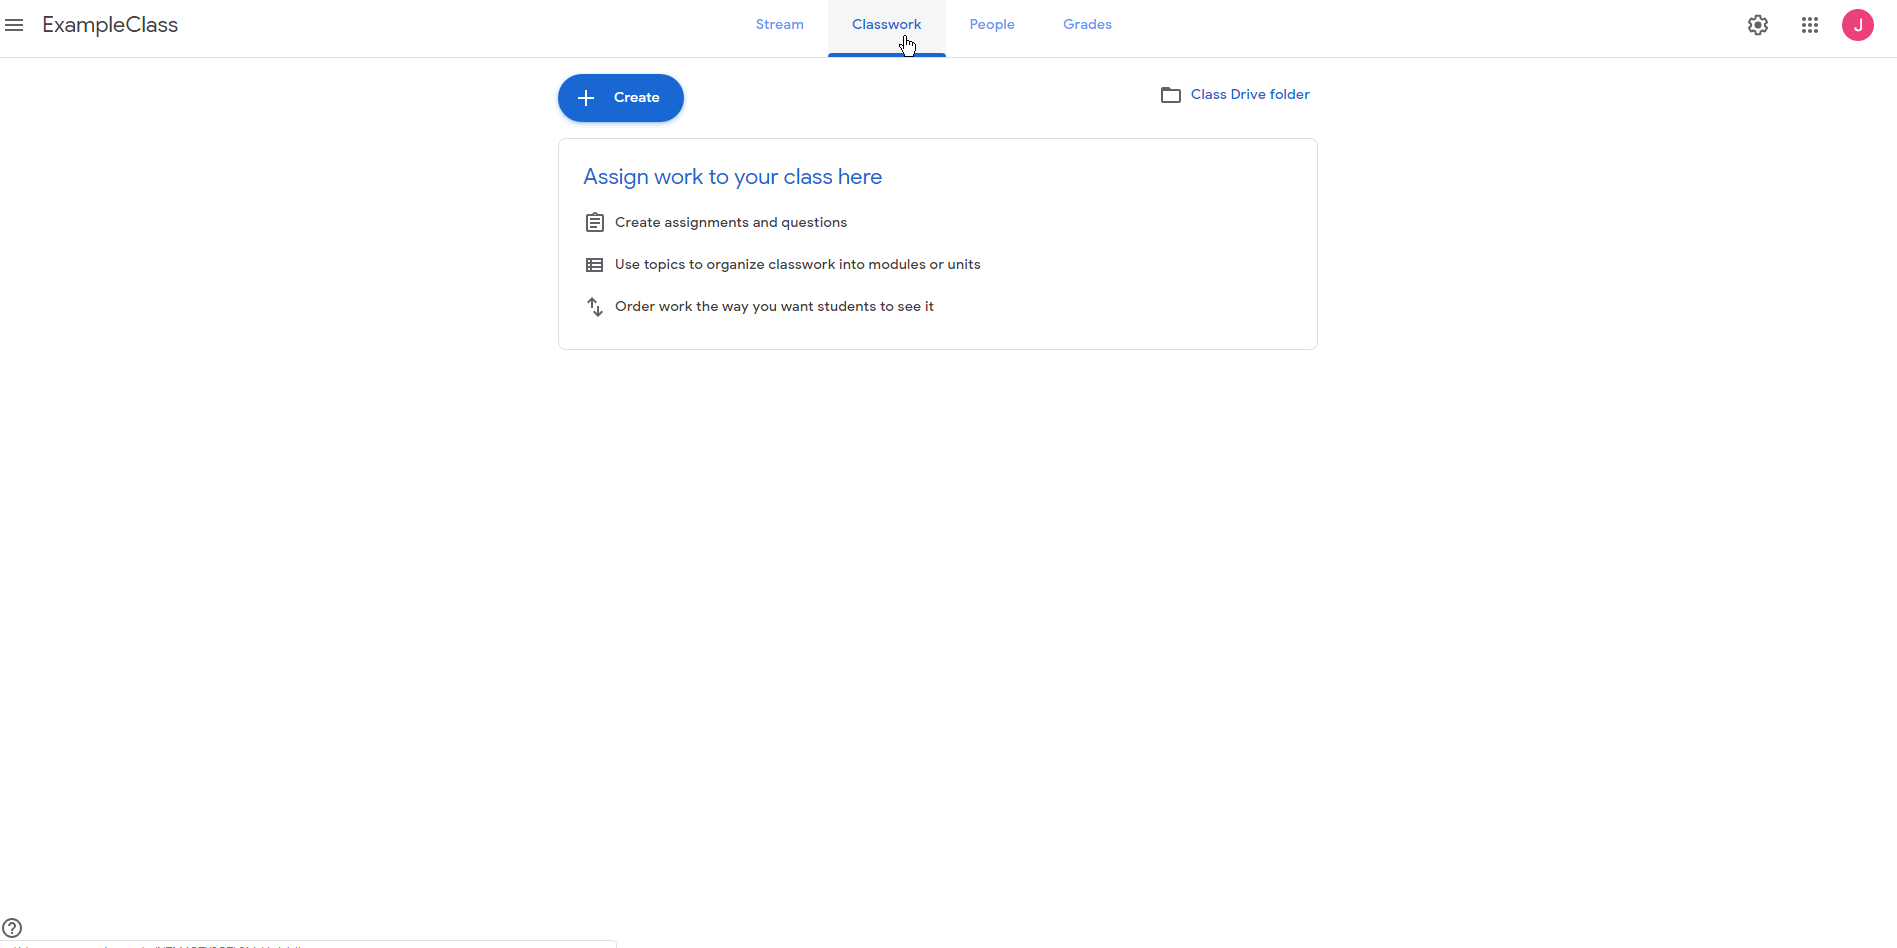
Classwork is where you can set work for students, organize units of work and also access your classes personal drive. You can navigate to this by simply clicking classwork when you have selected your class.
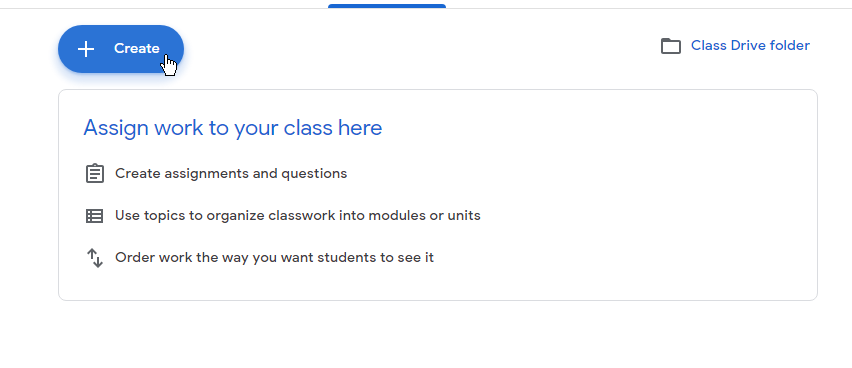
Setting work for students
To set work for your students click create
Once you have clicked this you have a few options you can create an assignment, quizzes, questions, add material or simply reuse an existing post.
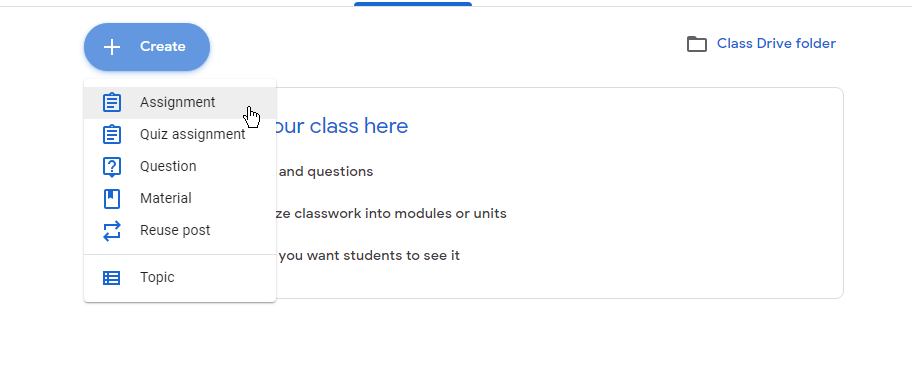
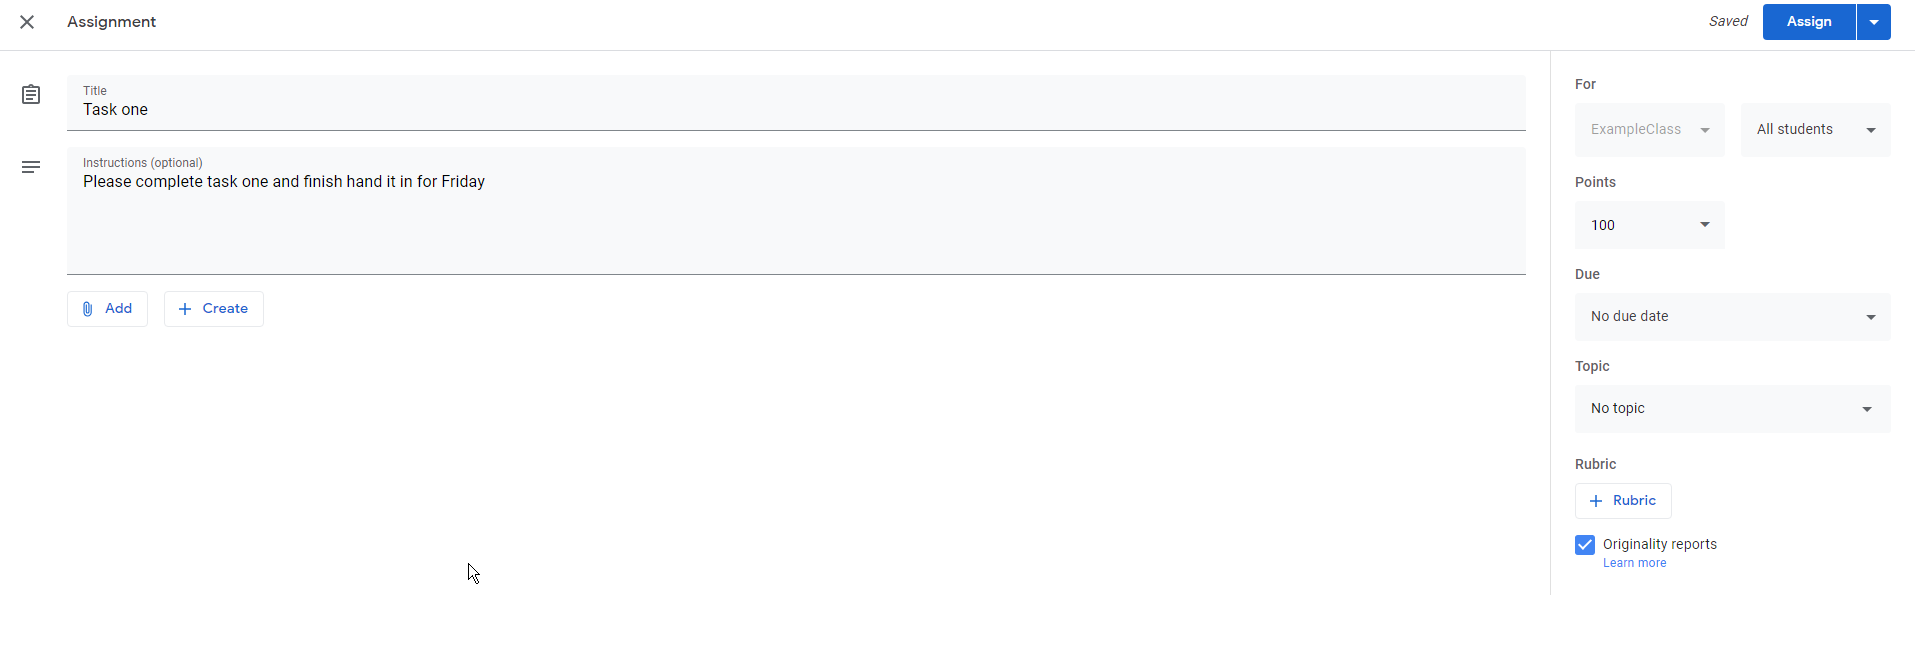
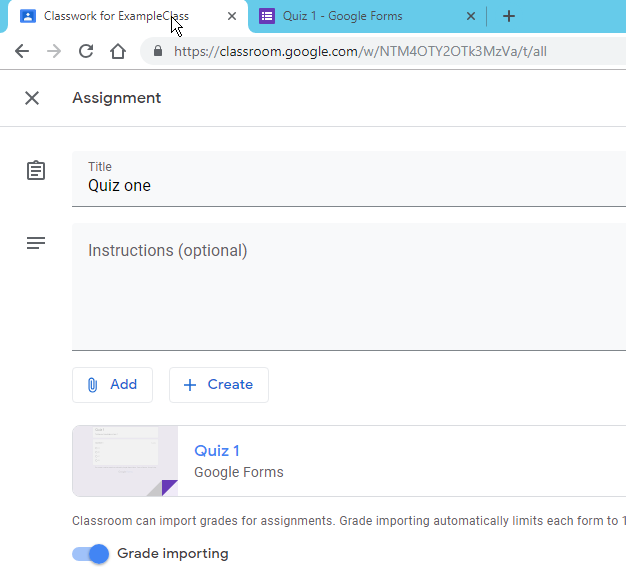
To create an assignment just select assignment and give it a title and instructions if you wish.
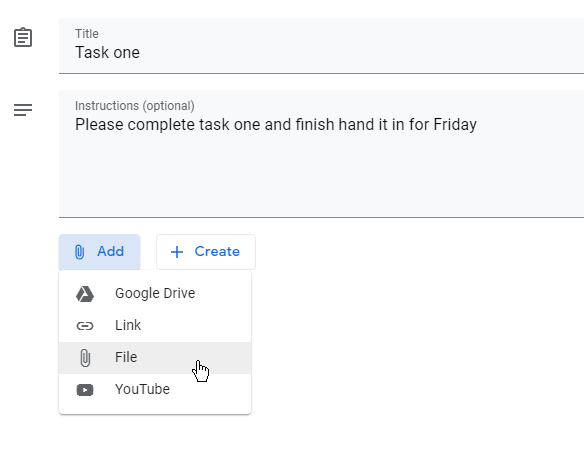
You can simply add in attachments by selecting the paperclip and then selecting file icon
You will now be presented with this screen where you can browse your PC for the file you require
 Once you have inserted the file you will now need to select upload
You can now see the file has uploaded successfully
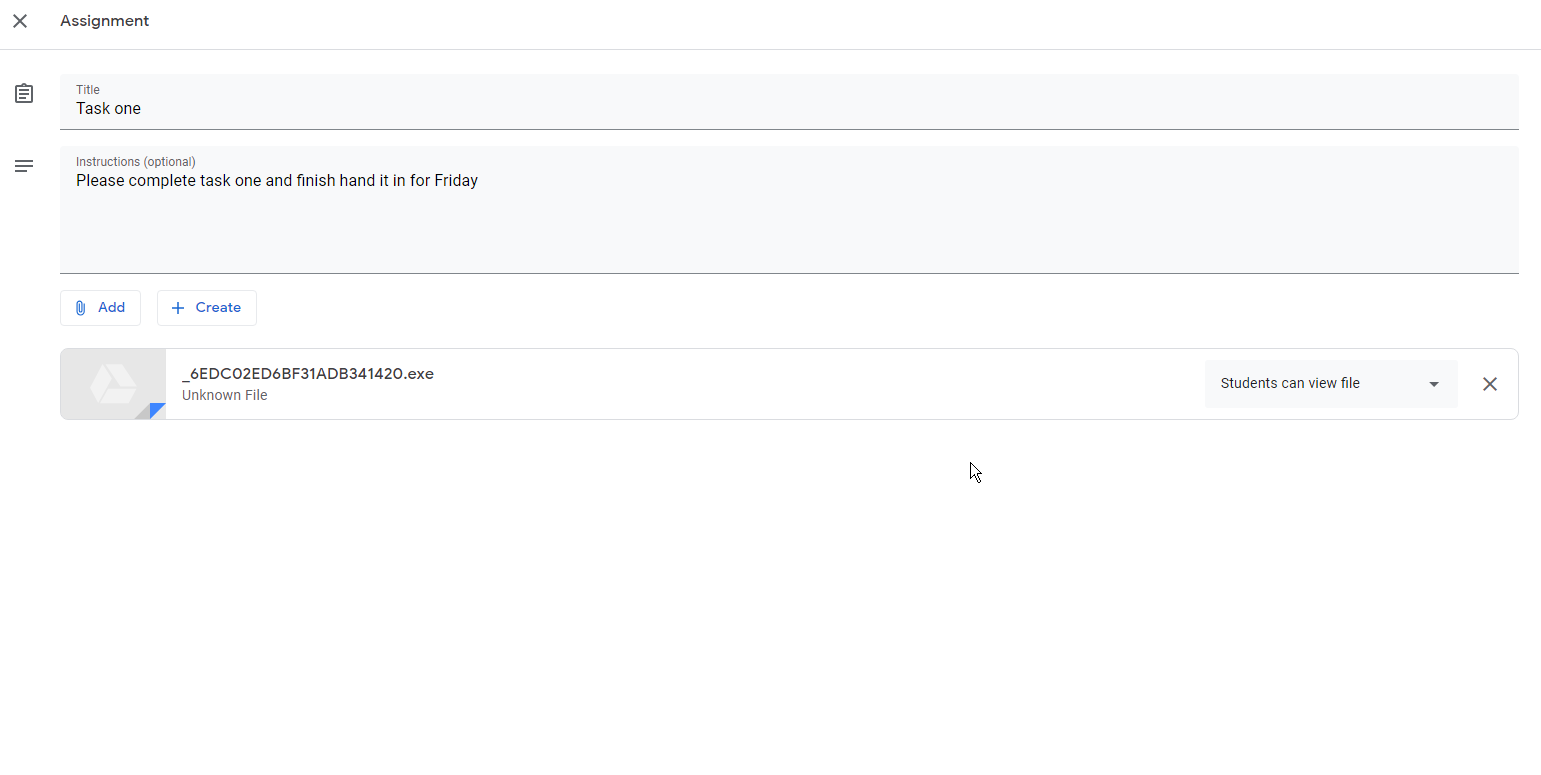
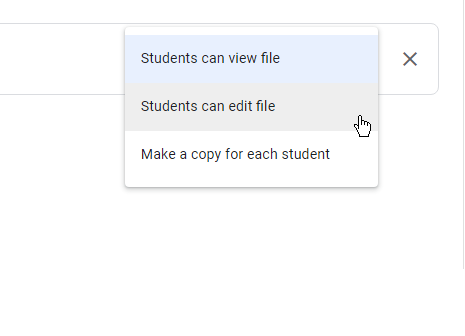
You now have a few options on what students can do with that file they can either just view the file, edit the file or you can create a copy for each student to edit. These options will vary depending on the circumstance.
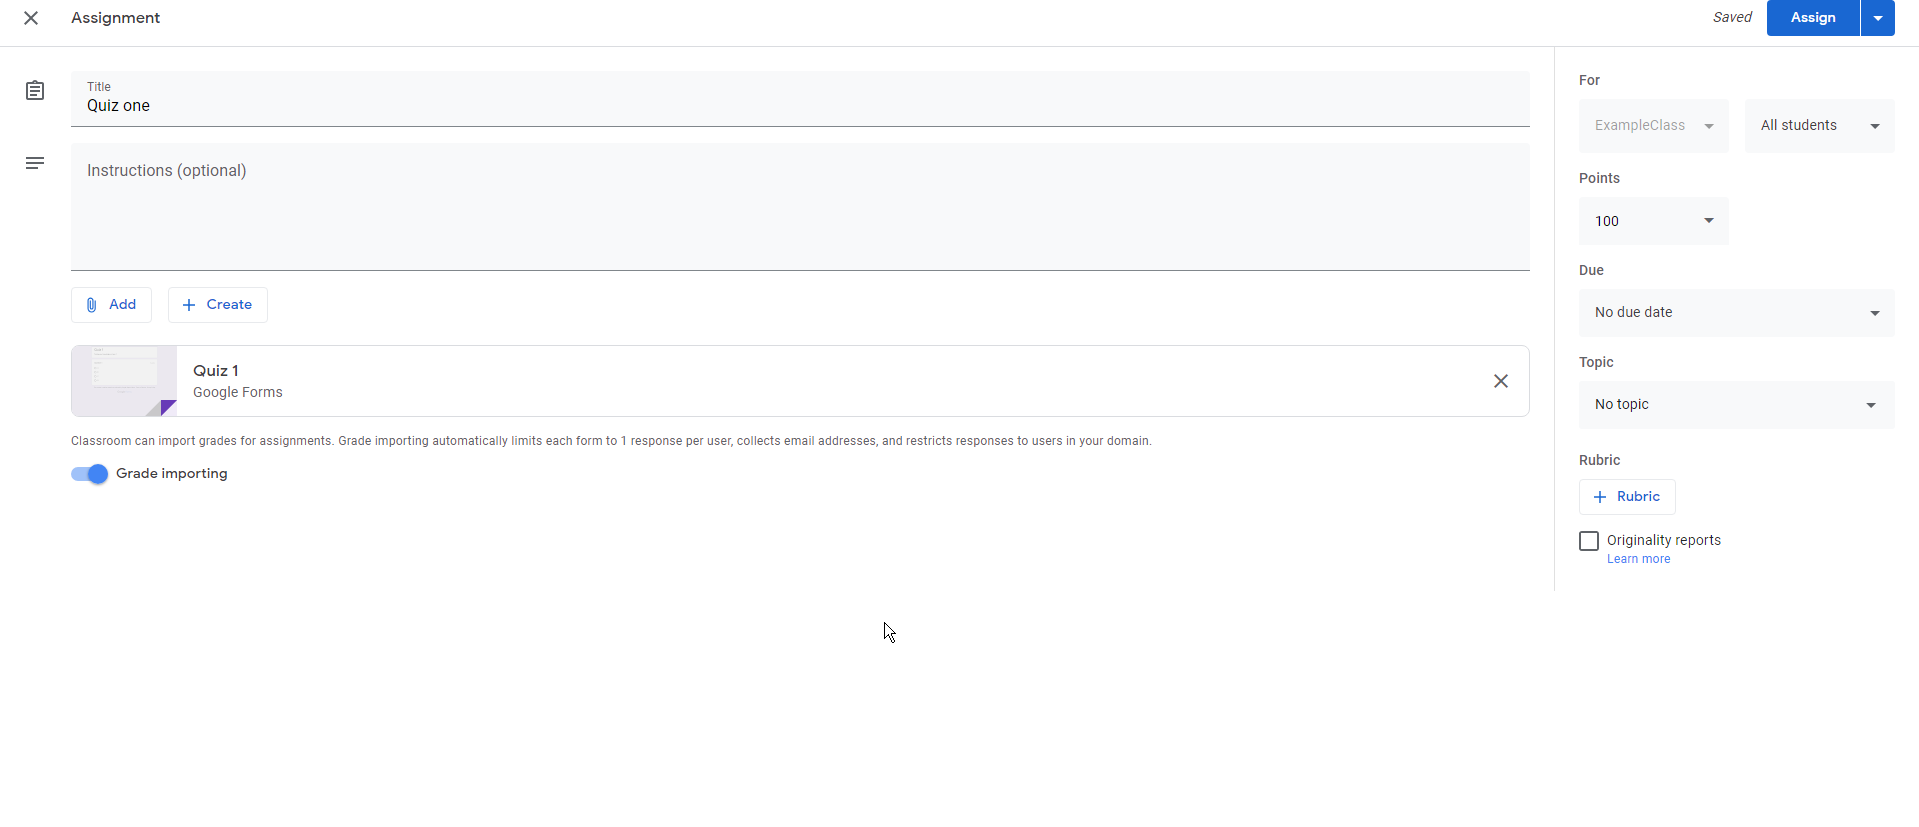
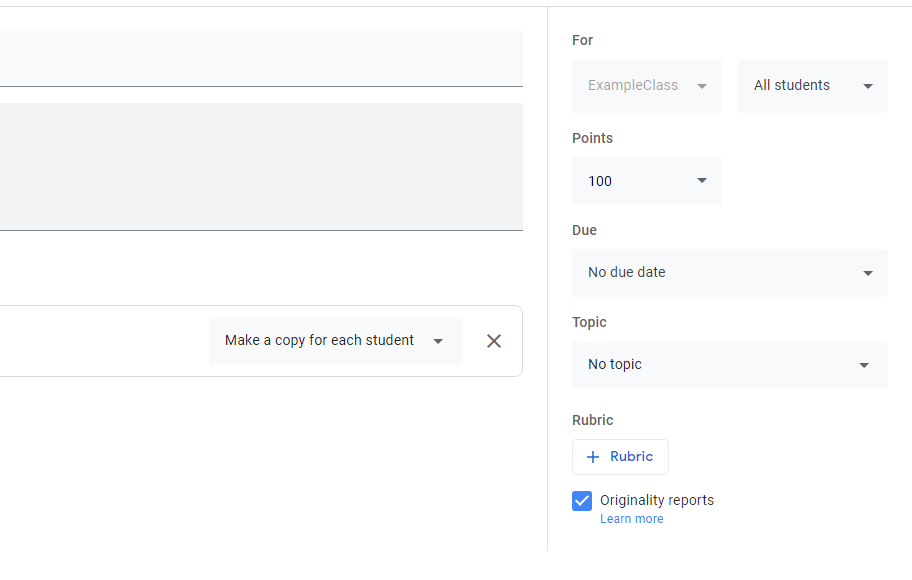 You can now edit which students you wish to see the assignment if you require all of them too just select All Students.
You can edit how many points you think the assignment is worth if you believe, it should be ungraded just select ungraded
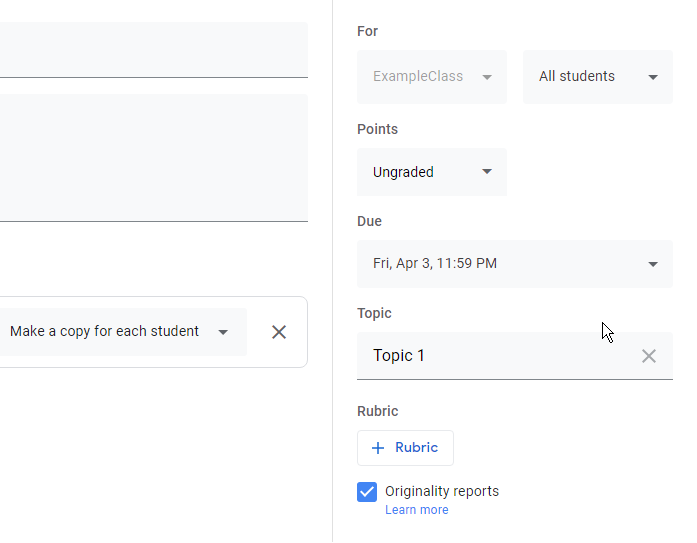
 You can now set a due date
You can also create a topic to possibly link other pieces of work too

Rubrics
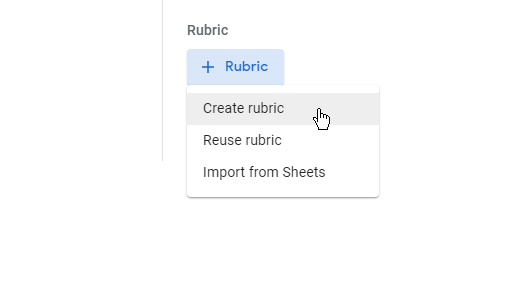
Other feature you may find useful are using the Rubric tool. This allows you to set marking criteria such as spelling and grammar. To add a rubric just select “+Rubric” as you can see below. Now select create rubric.
Here is an example of how you can use Rubrics to grade your work for example I have set the criteria to spelling and punctuation and give it a description. I have then set a points system 20 being the highest and 5 being the lowest. By setting Rubrics, it may help the children in understanding why they have lost marks.

To save your Rubric just simply select save in the top right hand corner.
originality reports
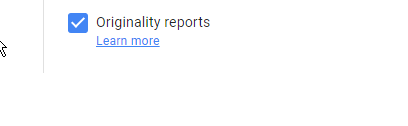
This is a feature, which checks your students work for authenticity it works by checking google searches against billions of webpages. This enforces that the students are not plaguing their work. Just ensure the box below is ticked to turn this feature on.
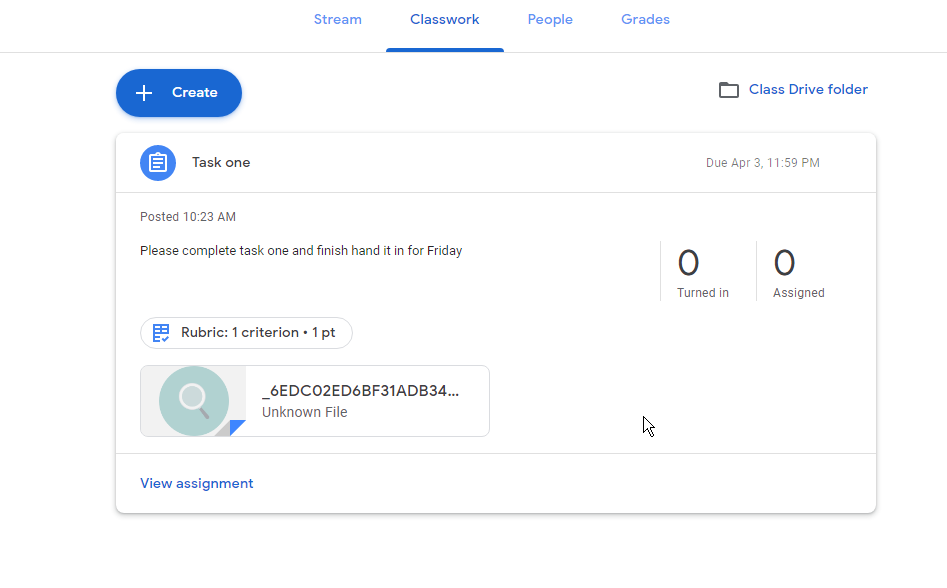
Now you have set the assignment how you want it you can post the assignment, schedule the assignment or save it as a draft. To do this just see my guide on posting, scheduling the post or saving it as a draft. Once it is posted, it should look like the image below. Here you can also see how many have handed the assignment in and how many it has been assigned to.
Creating an assignment quiz with google forms
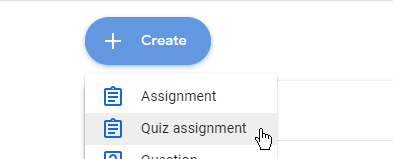 To create a quiz for your class select +Create then select quiz assignment.
Once you have selected this it will display in the same way an assignment would although you can use google forms to implement a quiz for each student.

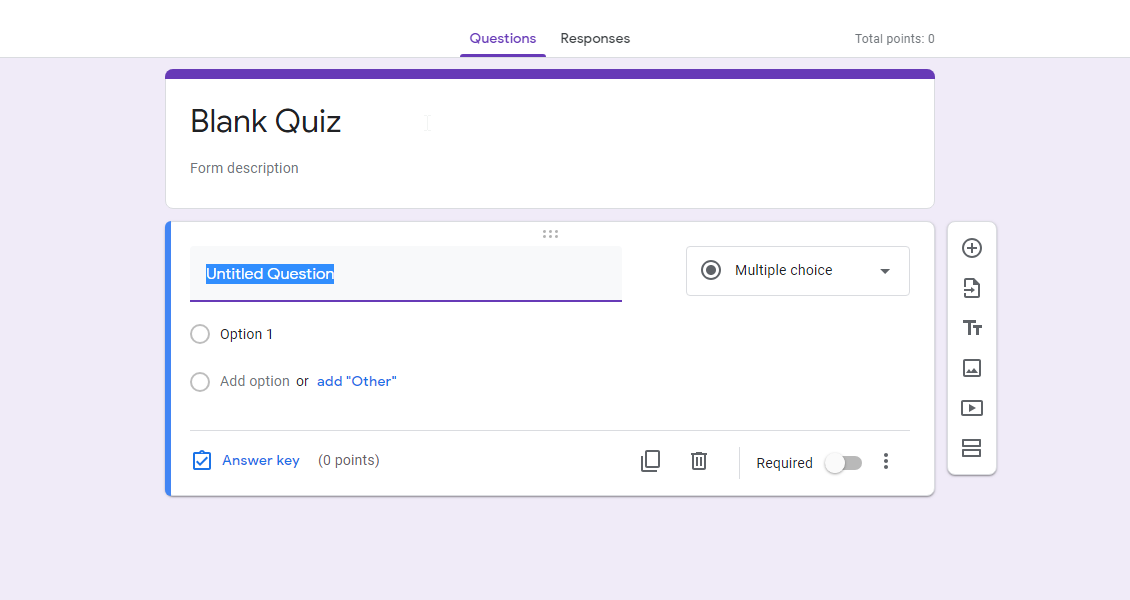
To create a quiz just click blank quiz

Now you will be brought to new google forms document from here, you may want to set a name for your quiz simply click on where it says Blank Quiz to change the name.
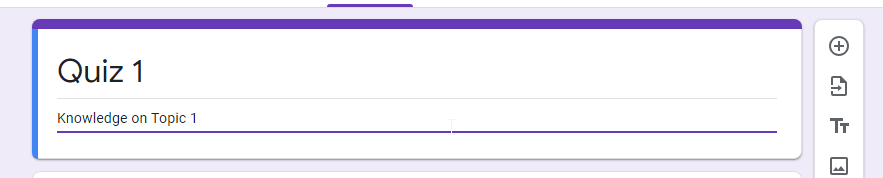
Here is an example
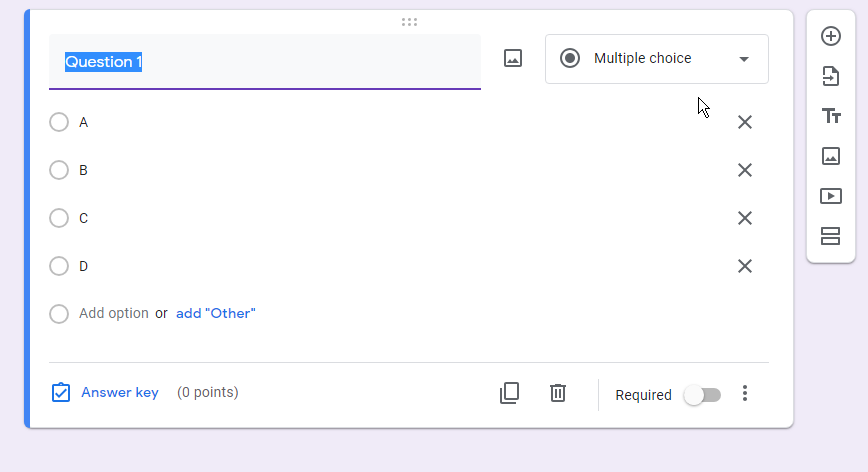
Once you have named your quiz you can now set questions just name your question and by default it will be set to multiple choice so for an example I have just done A,B,C,D to add an option simply click on add option
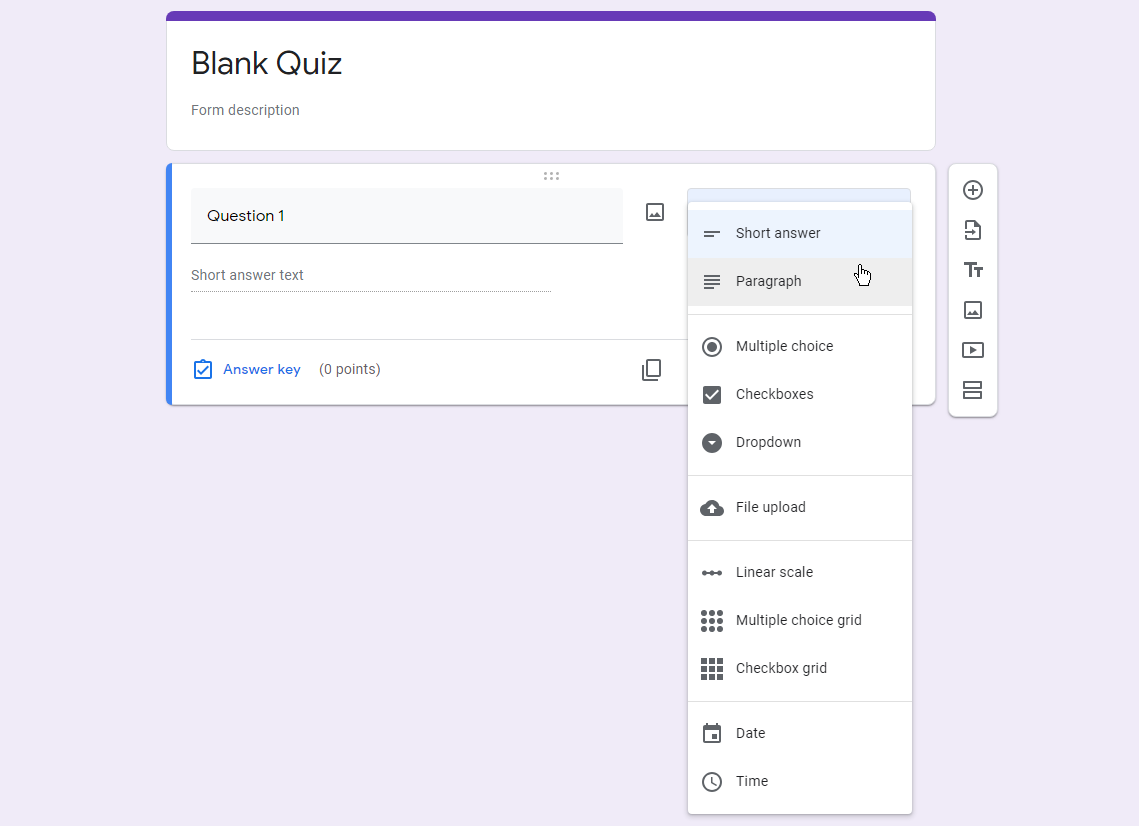
If you would like it to be answered in another way such as a short answer or a paragraph just click on where it says multiple choice and you will be presented with the following drop down menu.
You now need to set the answer to your question to do this select answer key

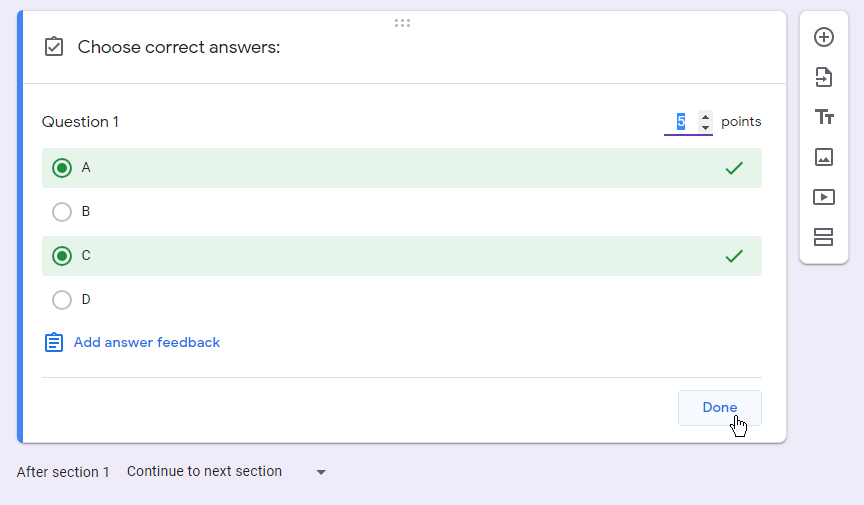 Now you will be able highlight which answers are correct and how many points the question is worth.
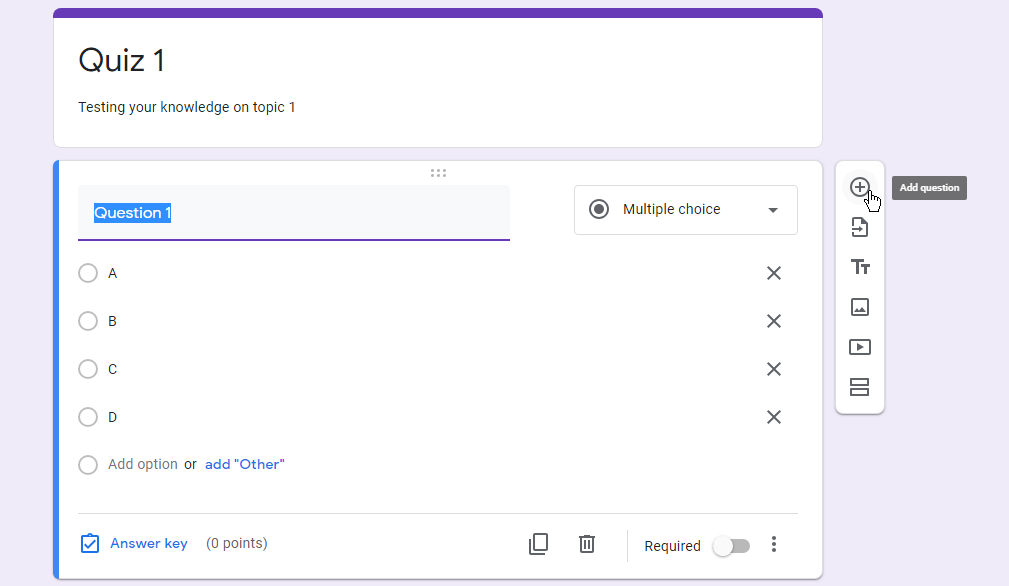
To your right of the question you have an options panel from here you can add a question, import questions, edit the title and description, add an image or video or add a new section to the quiz.
Once you are happy with your quiz, it will be automatically saved so just navigate back to the assignment and it will show the quiz ready to be uploaded.
You now need to click assign to set the work for your class
Asking questions to your class
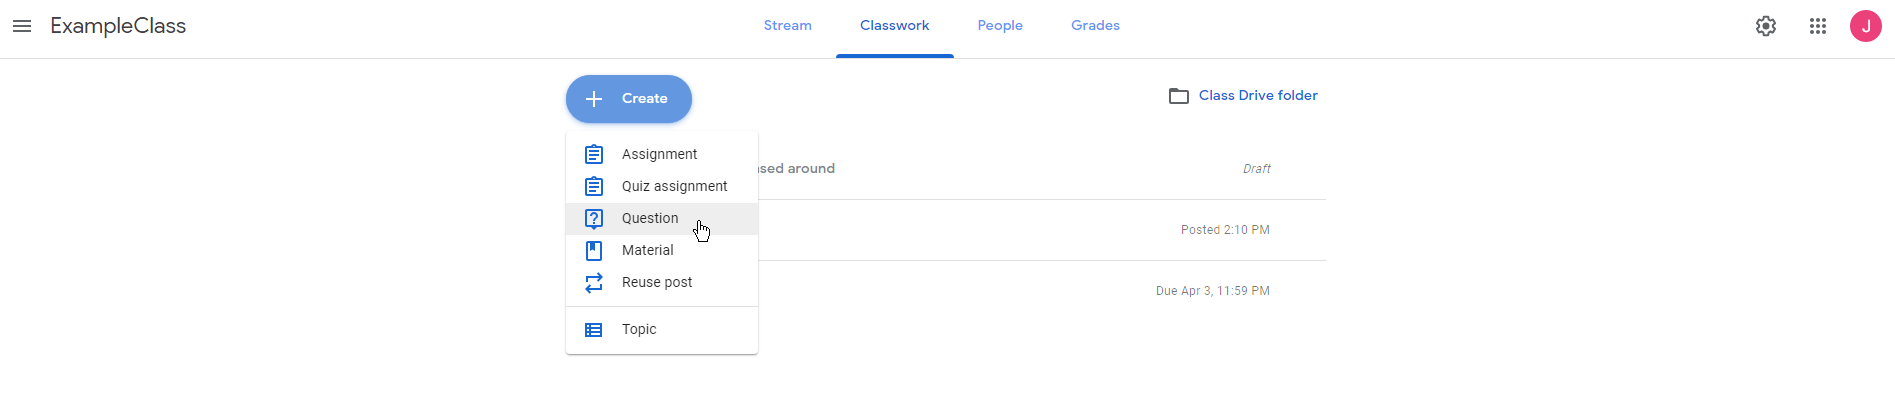 If you wish to ask, your class a question just select +create and select question.
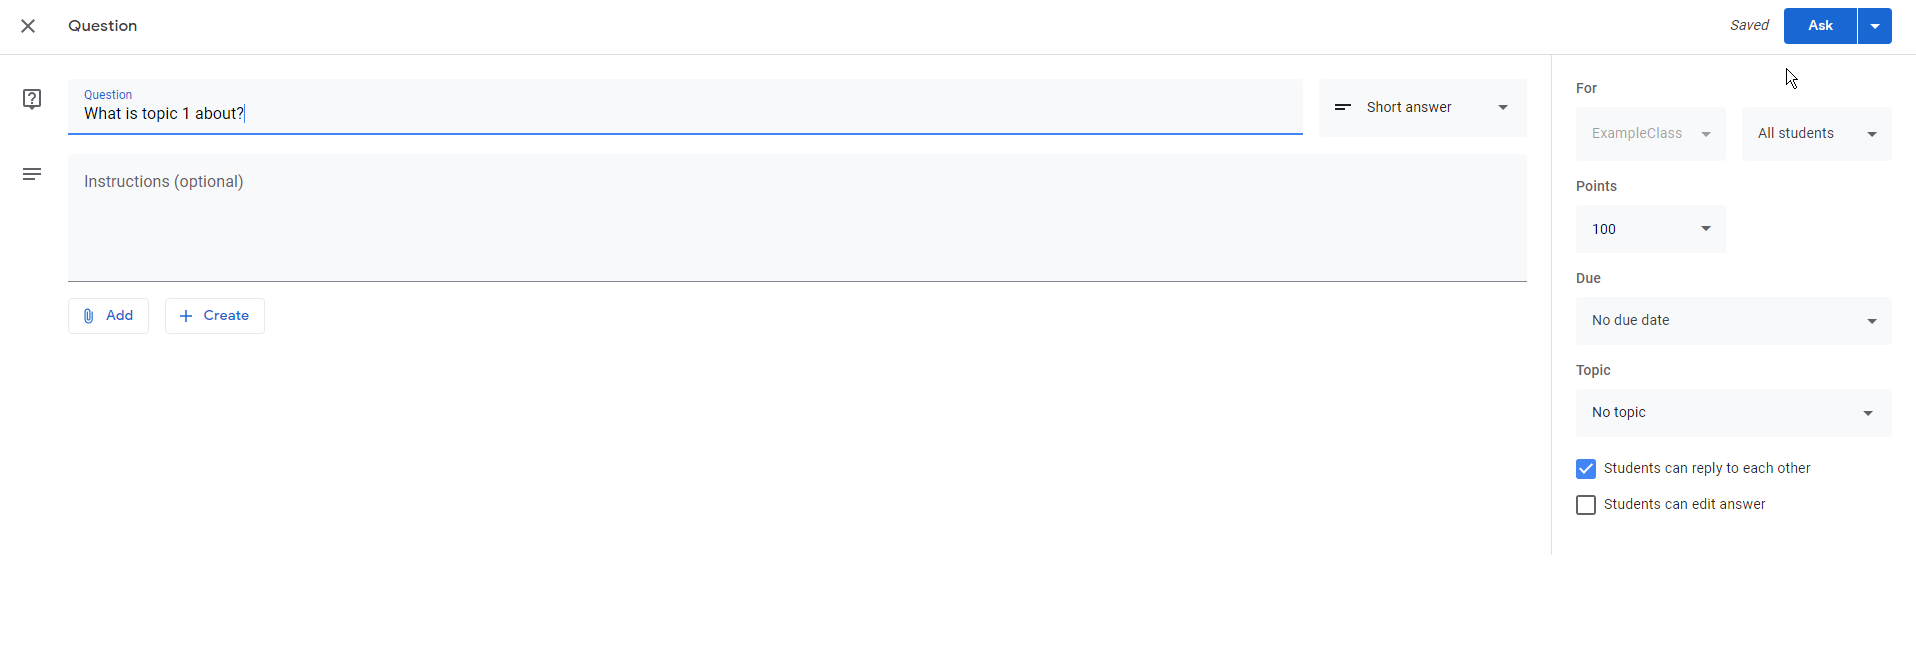 Now you can type your question and any instructions you wish your students to follow. (it is important to mention that asking questions cannot be used as a quiz there is no right and wrong answer)
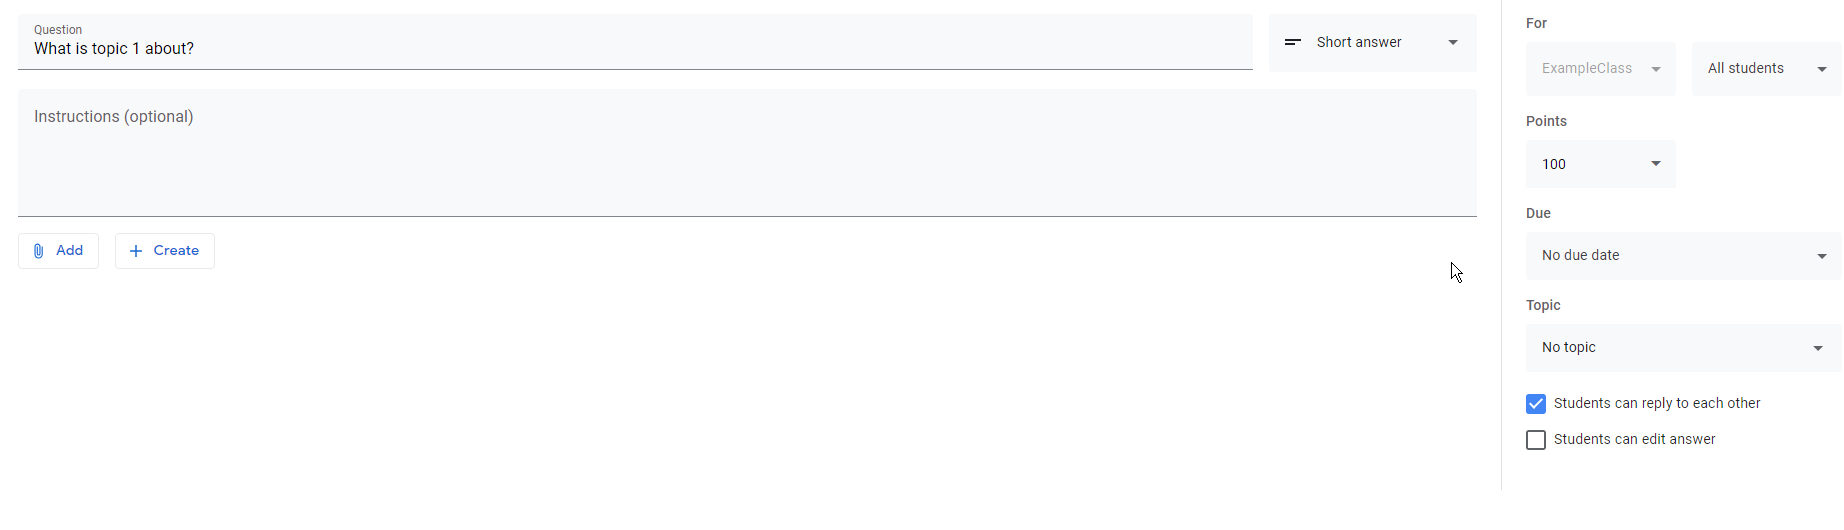 You can now modify the question to your liking for instance if you want the question to be open ended just set the question to short answer. (It is important to mention if you do not want the class replying to each other or editing the answer you need to ensure that the tick boxes in the bottom right are unticked)
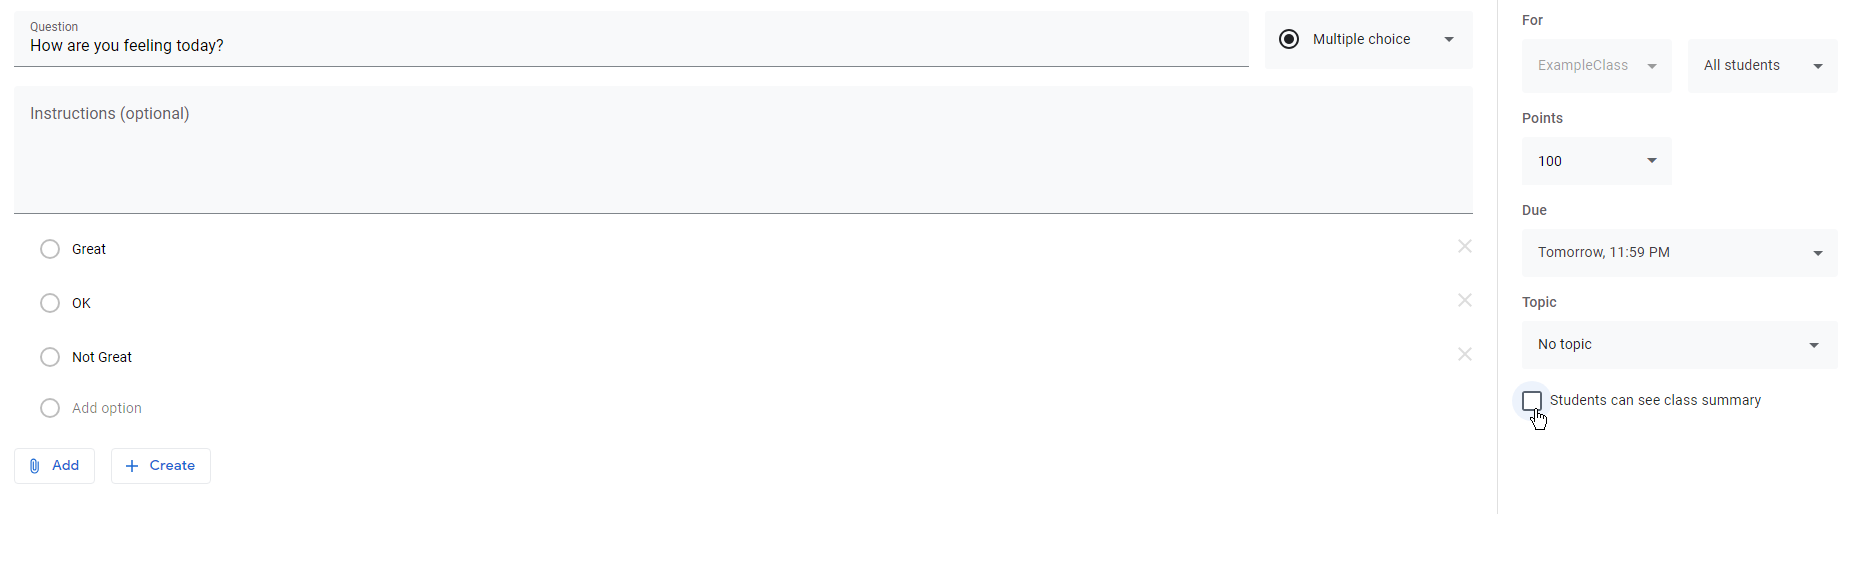
Alternatively, if you want it to be a multiple-choice question just select multiple choice. (It is important to mention if you do not want the class seeing each other’s responses ensure you untick the tick box “students can see class summary”)
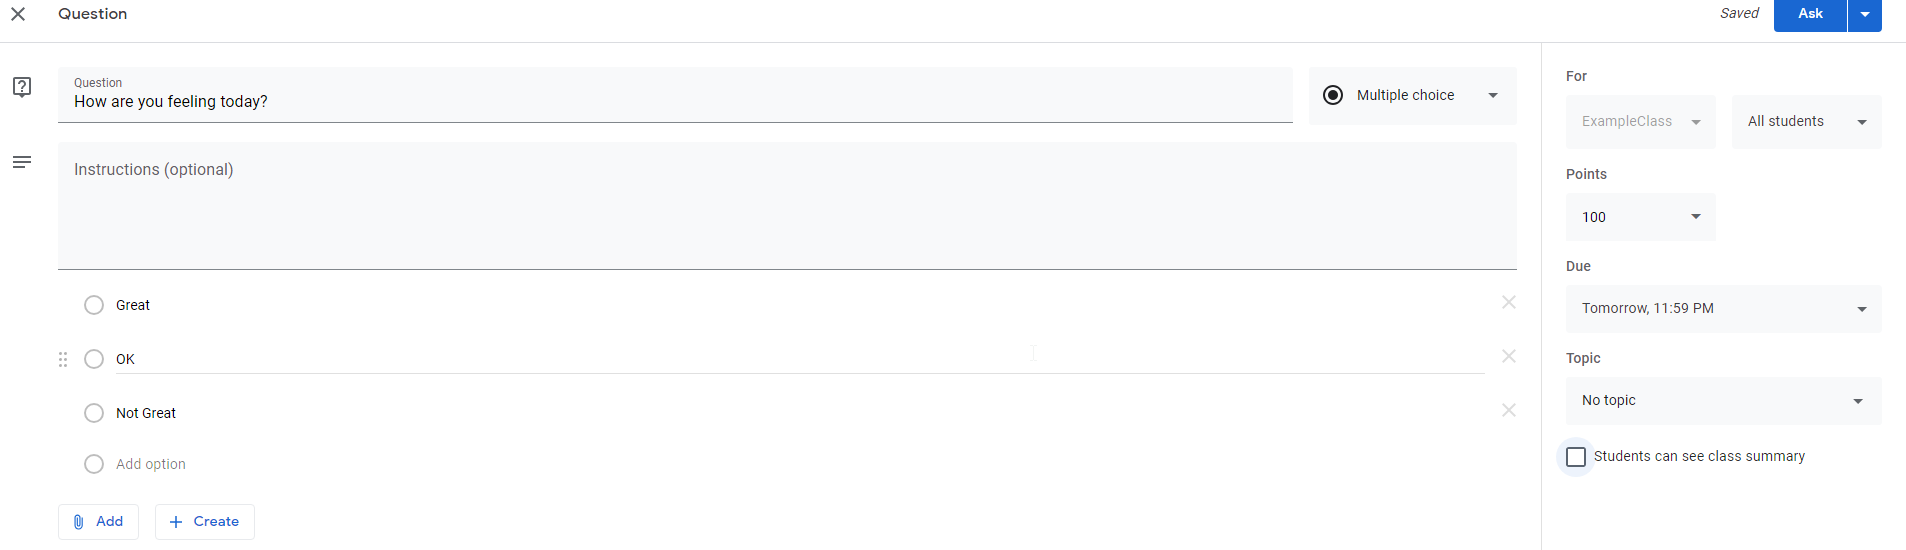
After you have created your question, you can add any attachments by using the paperclip icon, the same as an assignment you can set points etc. As well as setting date and times on the question aswell. When you are happy just select Ask.
Adding material to your work
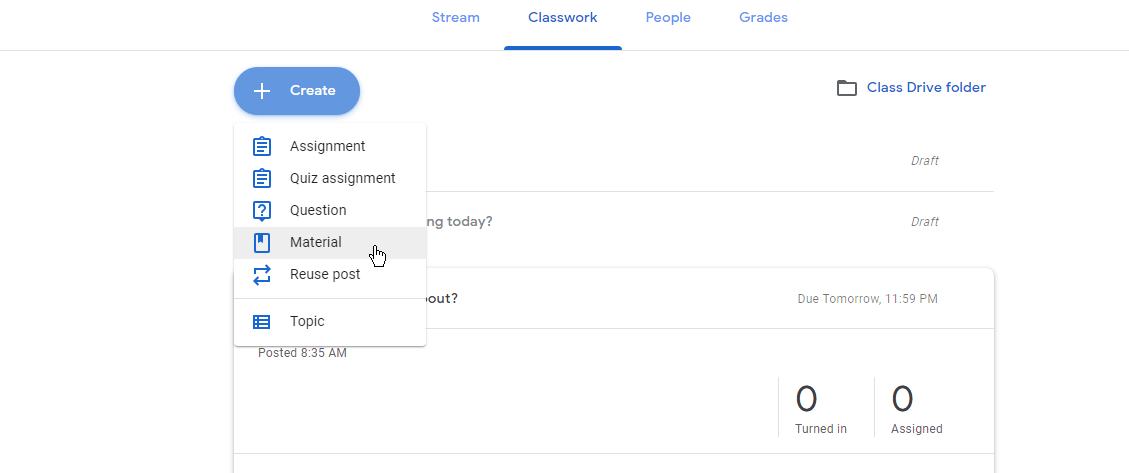 If you wish to add material to your class such as text books etc. just select create and then click material
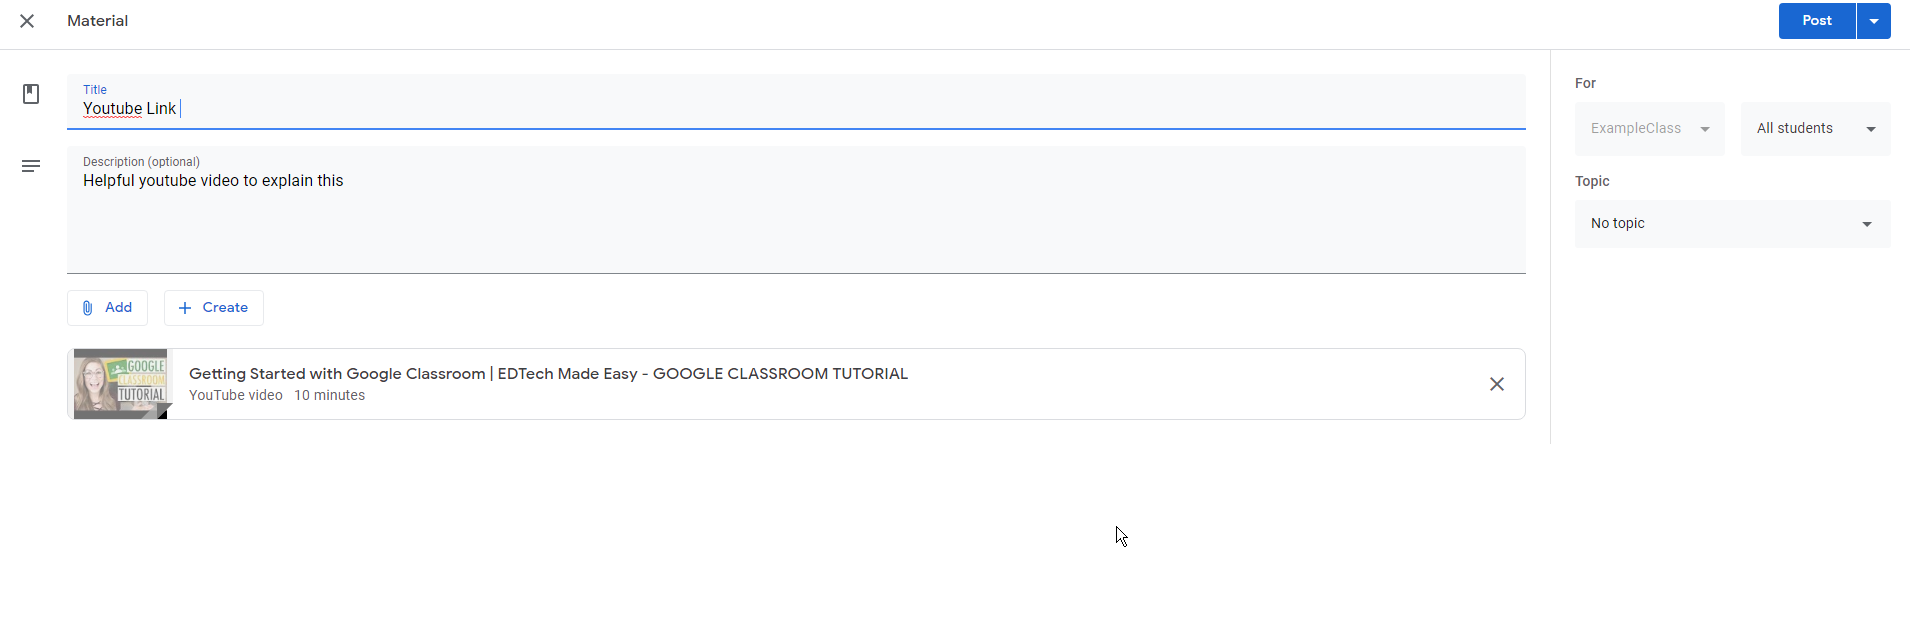
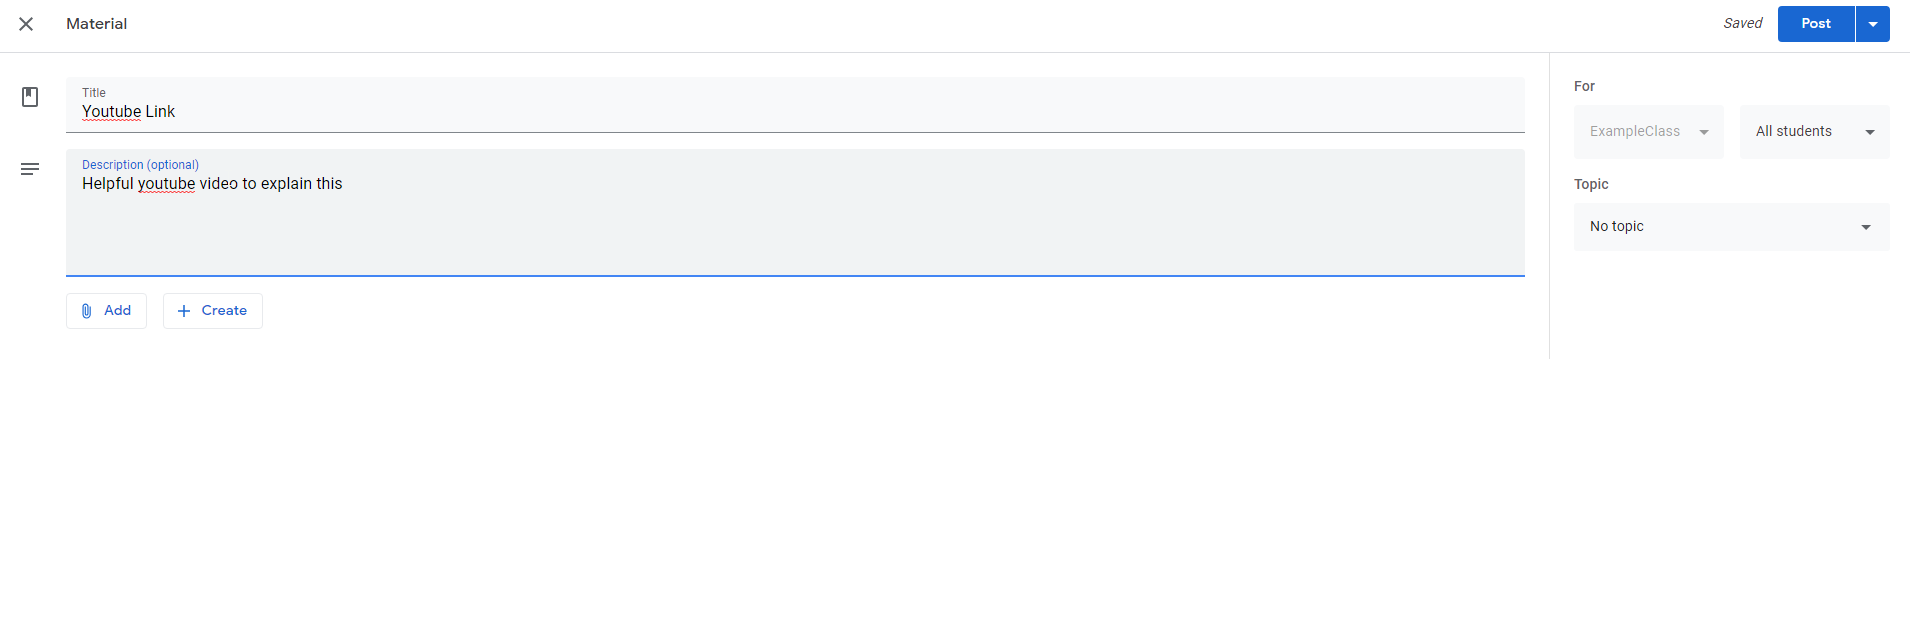 You will now be brought to the screen below where you can type your title and description and then add attachments the same way you would for an upload . In this instance, I am going to add a YouTube link.
Adding a YouTube link into an assignment
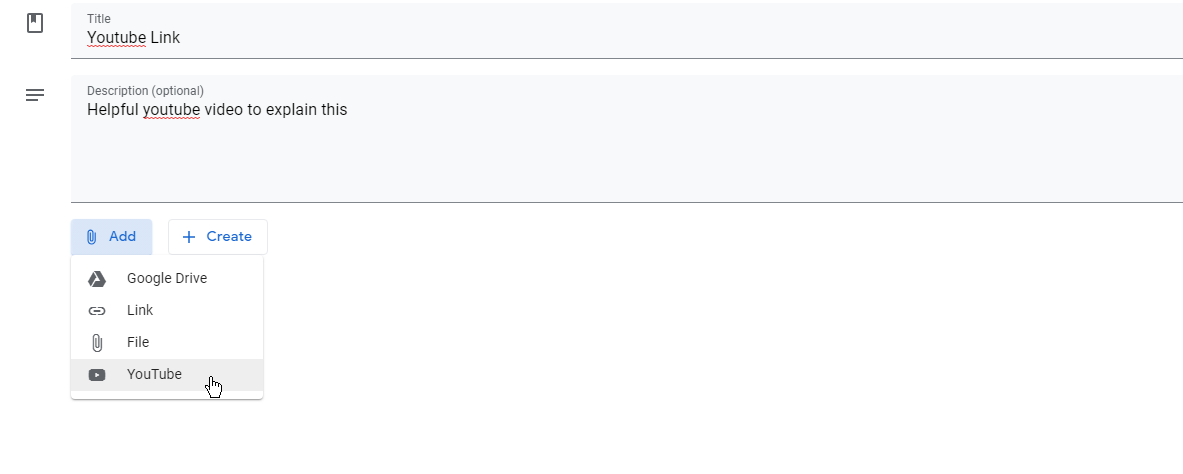
To do this just click the paperclip add icon now click on YouTube
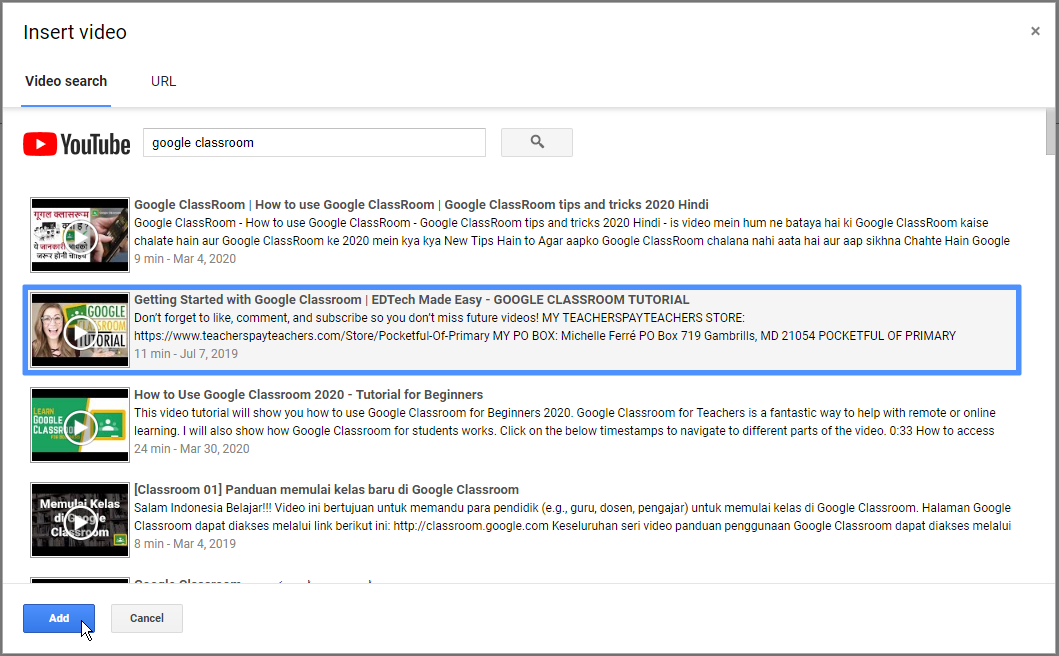 You will now see this from here all you have to so is search for your relevant video and highlight it by clicking on the video then all you need to do is select add.
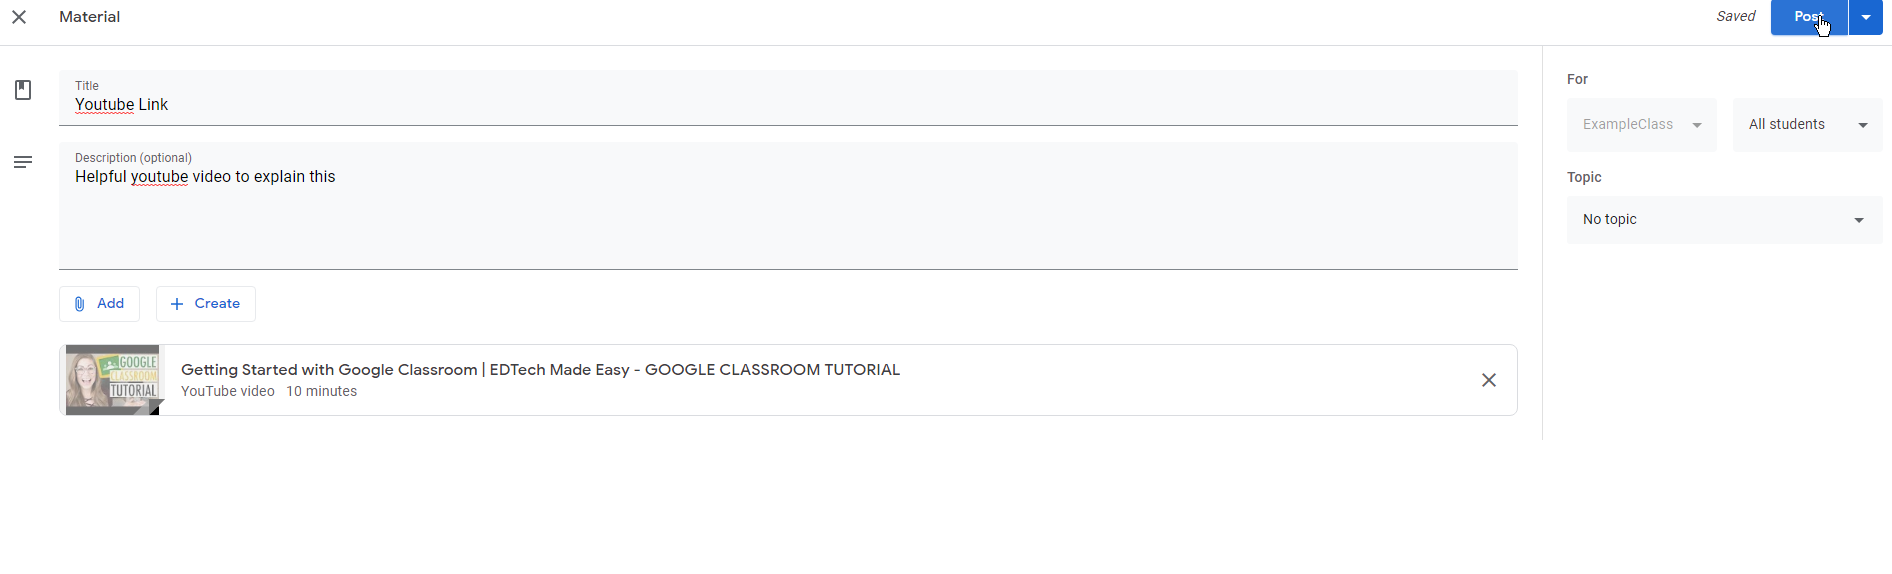
All you need to do now is to select post.
Reusing posts
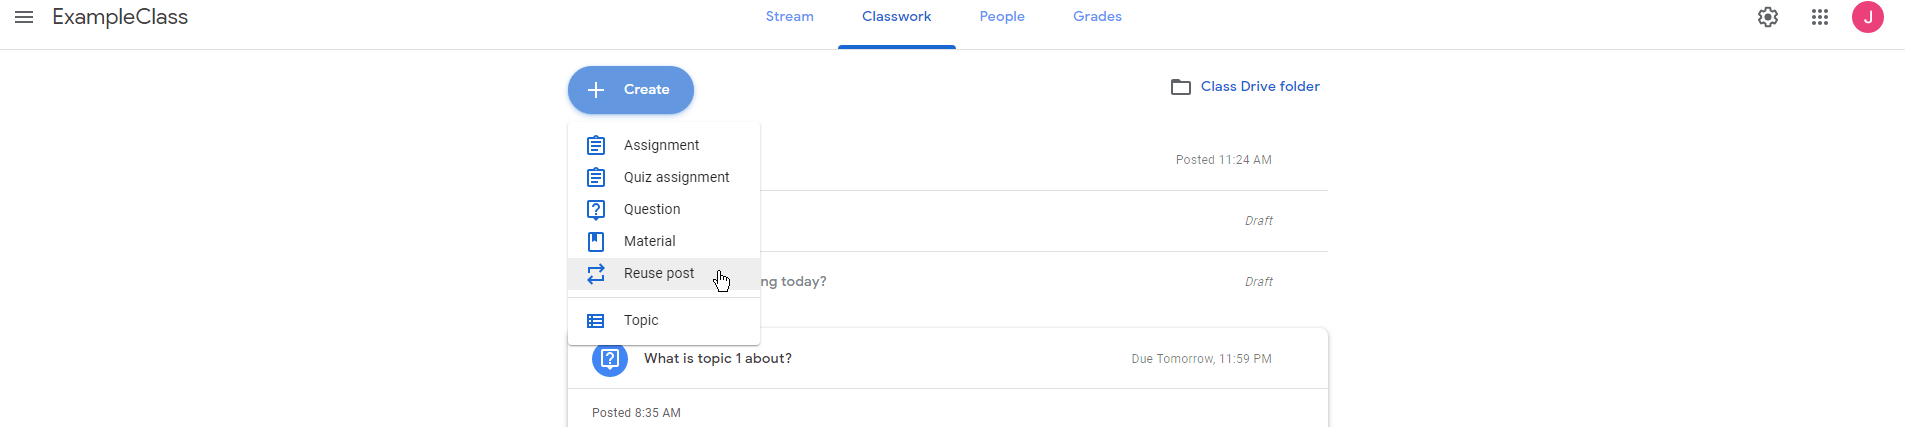 If you would like to reuse a post, you have already created just click reuse post
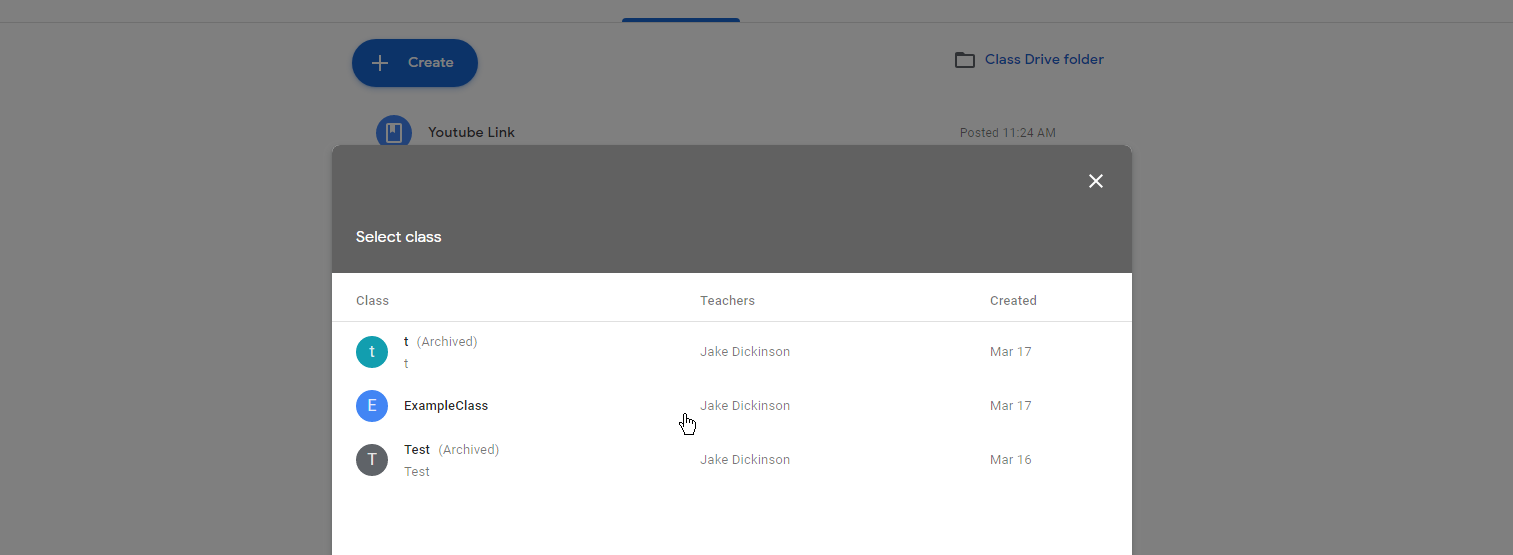
Now you will be brought to all of your classes just select the class you want
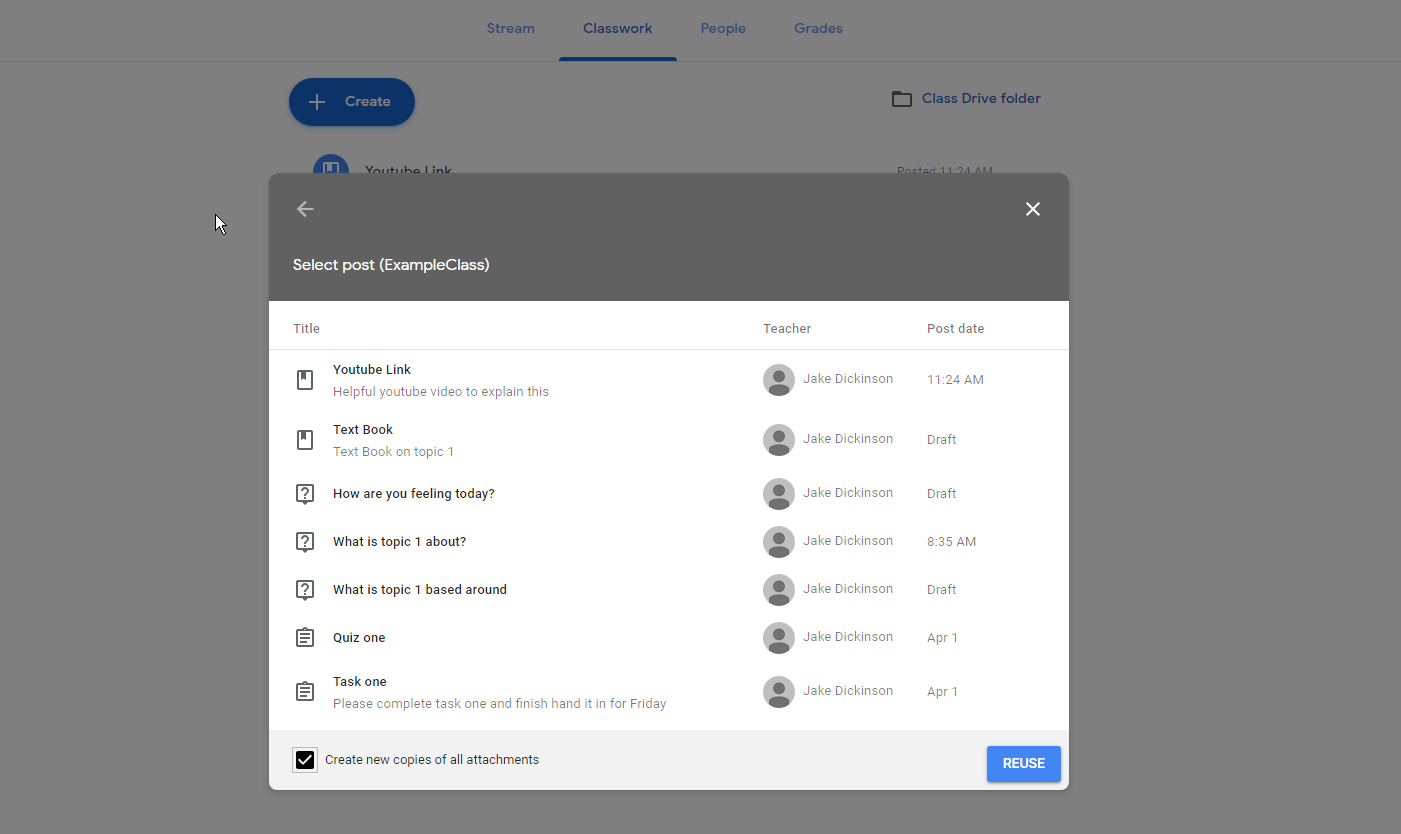
Now just select the post you would like to reuse and if you have, any attachments in the posts you can choose to create new copies of the attachments for the students to edit. To do this just select the tick box. Once you are happy you just need to click Reuse.
This now will bring you to the original draft page if you need to do any edits if not just click post.
Creating Topics
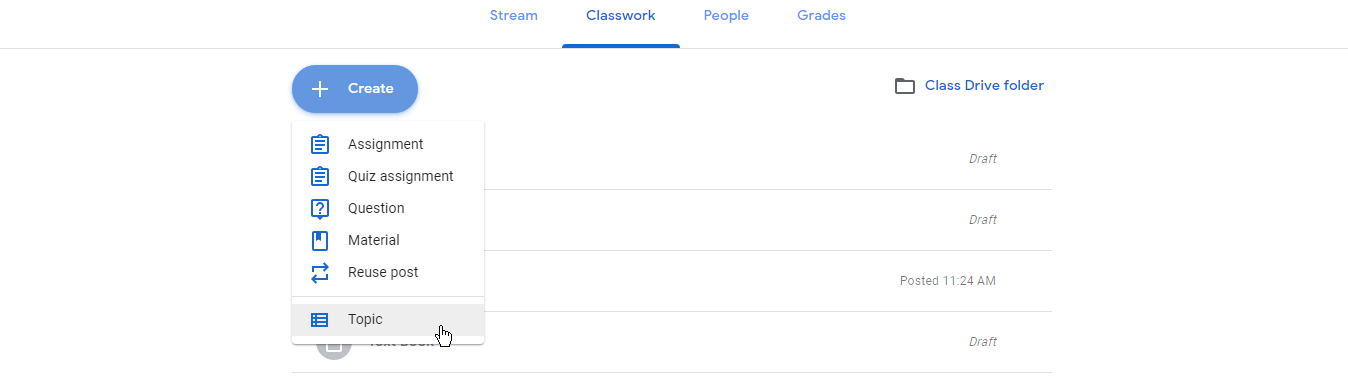
If you wish to create a new topic within your class just click create then topic
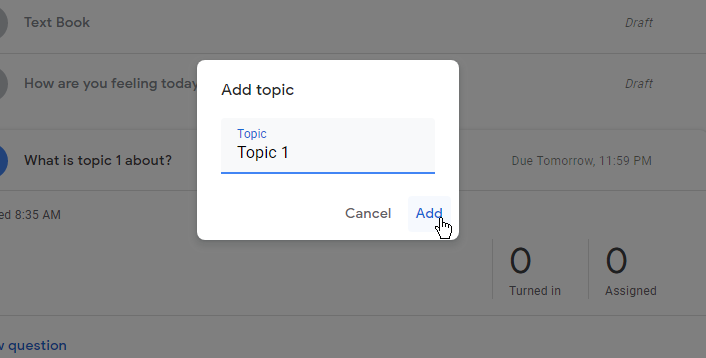
Give your Topic a name then just click add
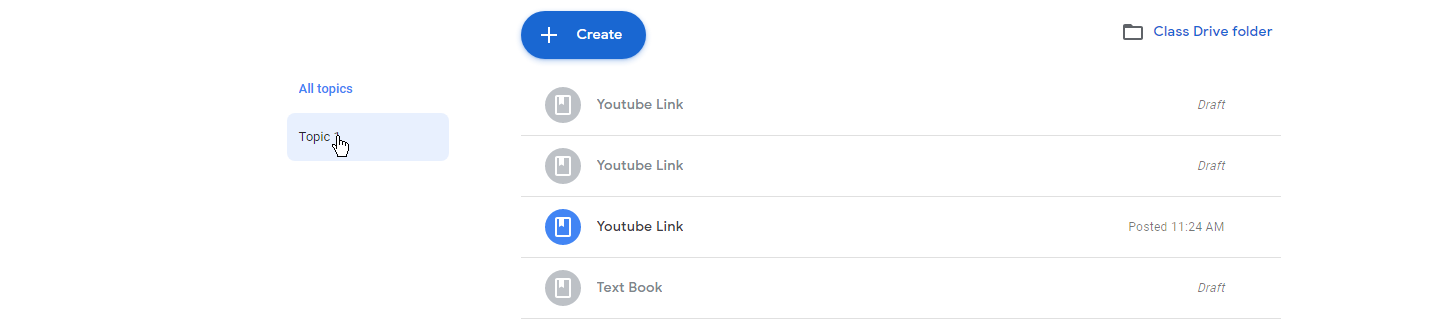
You can now see your new topic on the left hand side just click on this to open it
Google drive
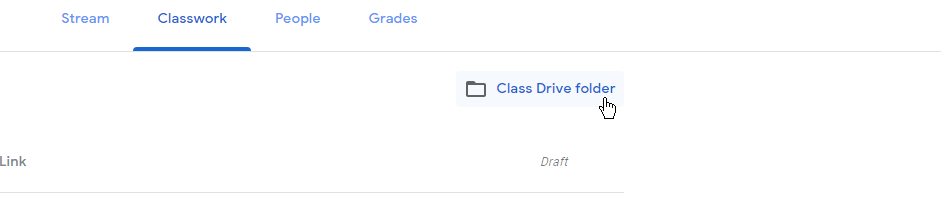
To access google drive from within classwork you will see a file icon just click this and it will open your google drive
Within your google drive you will see all previously created documents